VPN / ZeroTrust
This guide explains how to securely access internal resources using Cloudflare Zero Trust with the Cloudflare WARP client.
You will install Cloudflare WARP and enroll into the Synoralab team so you can reach internal services—such as dashboards, databases, and admin pages—without using a traditional VPN.
What you need
Section titled “What you need”- A working internet connection
- Your company google account end with
@synoralab.co(for browser sign-in) - Admin rights on your device (to install a network extension)
Install Cloudflare WARP
Section titled “Install Cloudflare WARP”- Go to https://1.1.1.1/
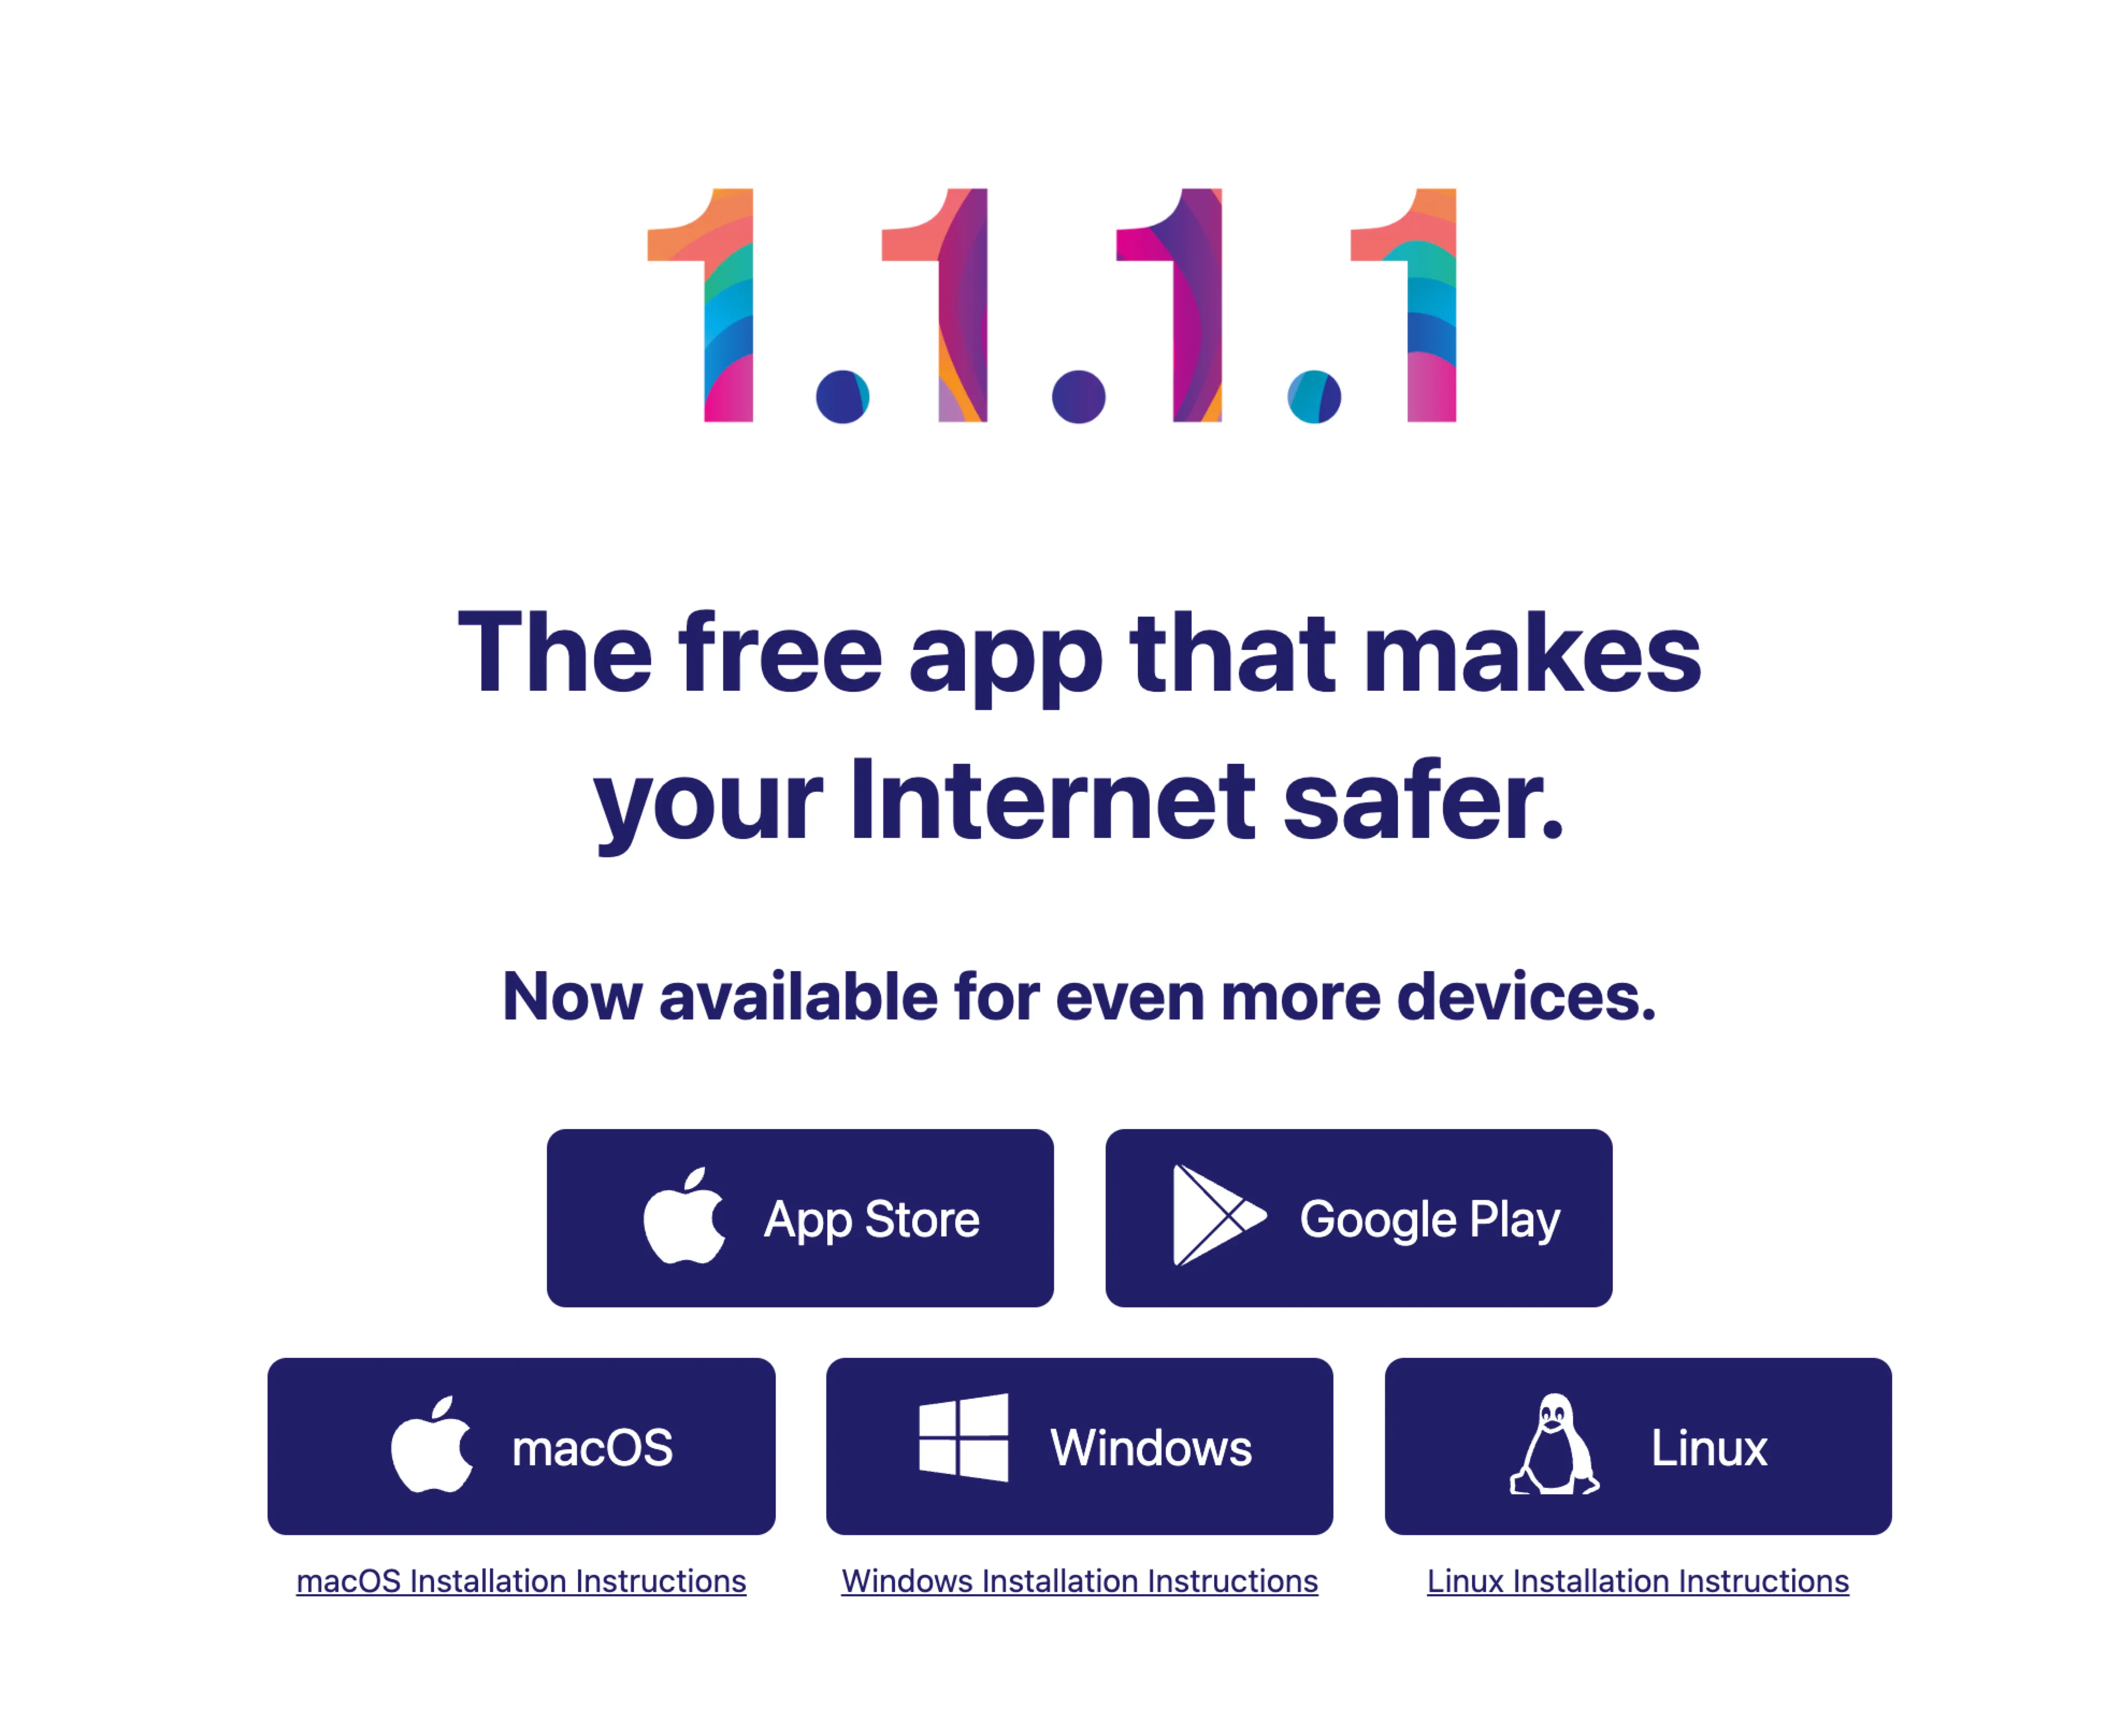
- Click “Download for macOS” and open the downloaded
.pkgfile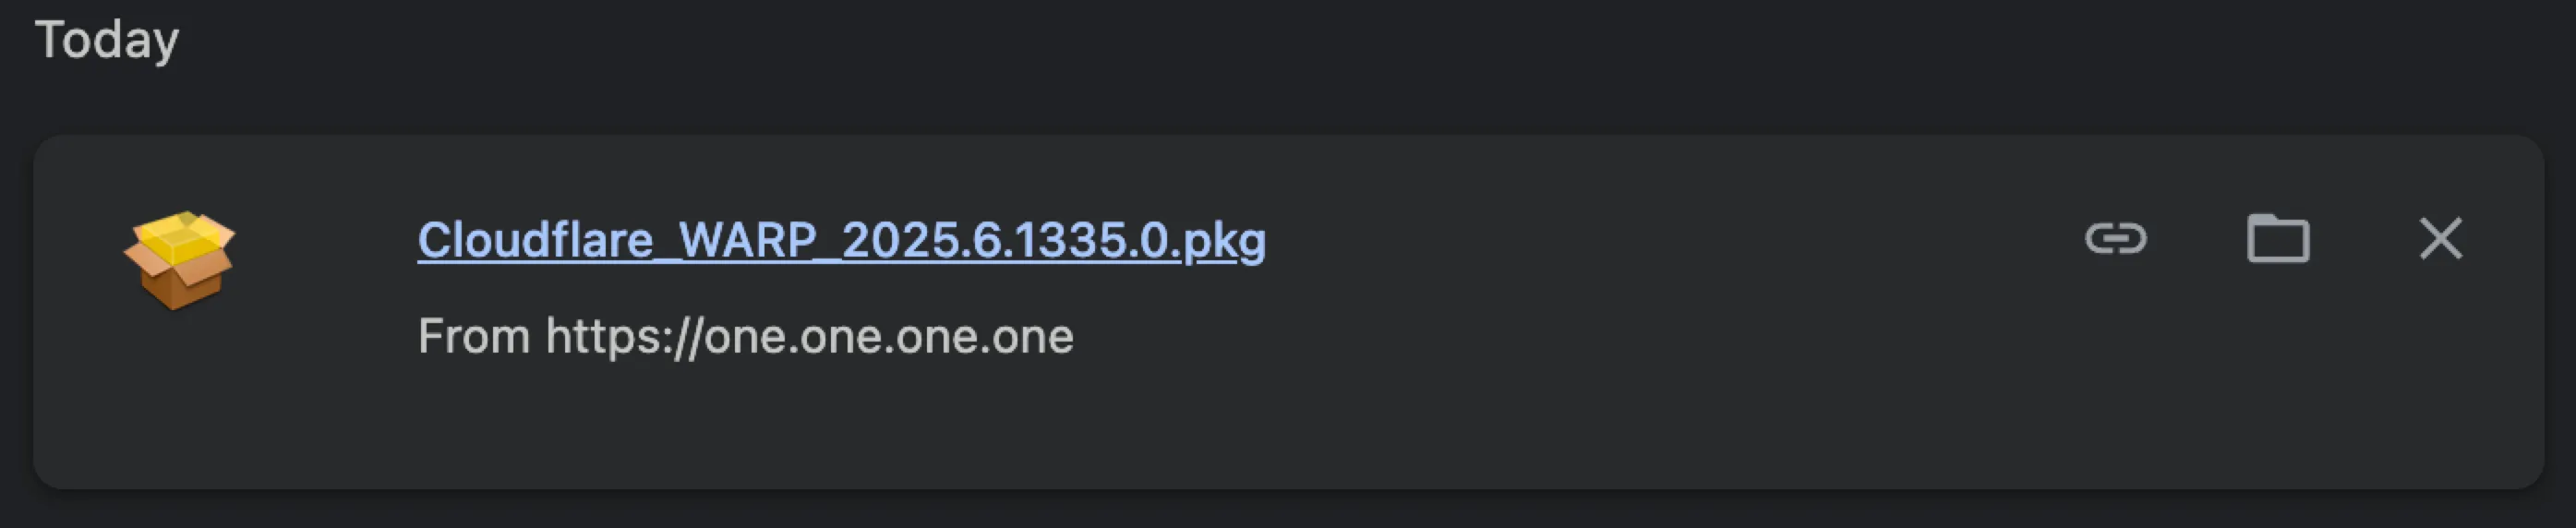
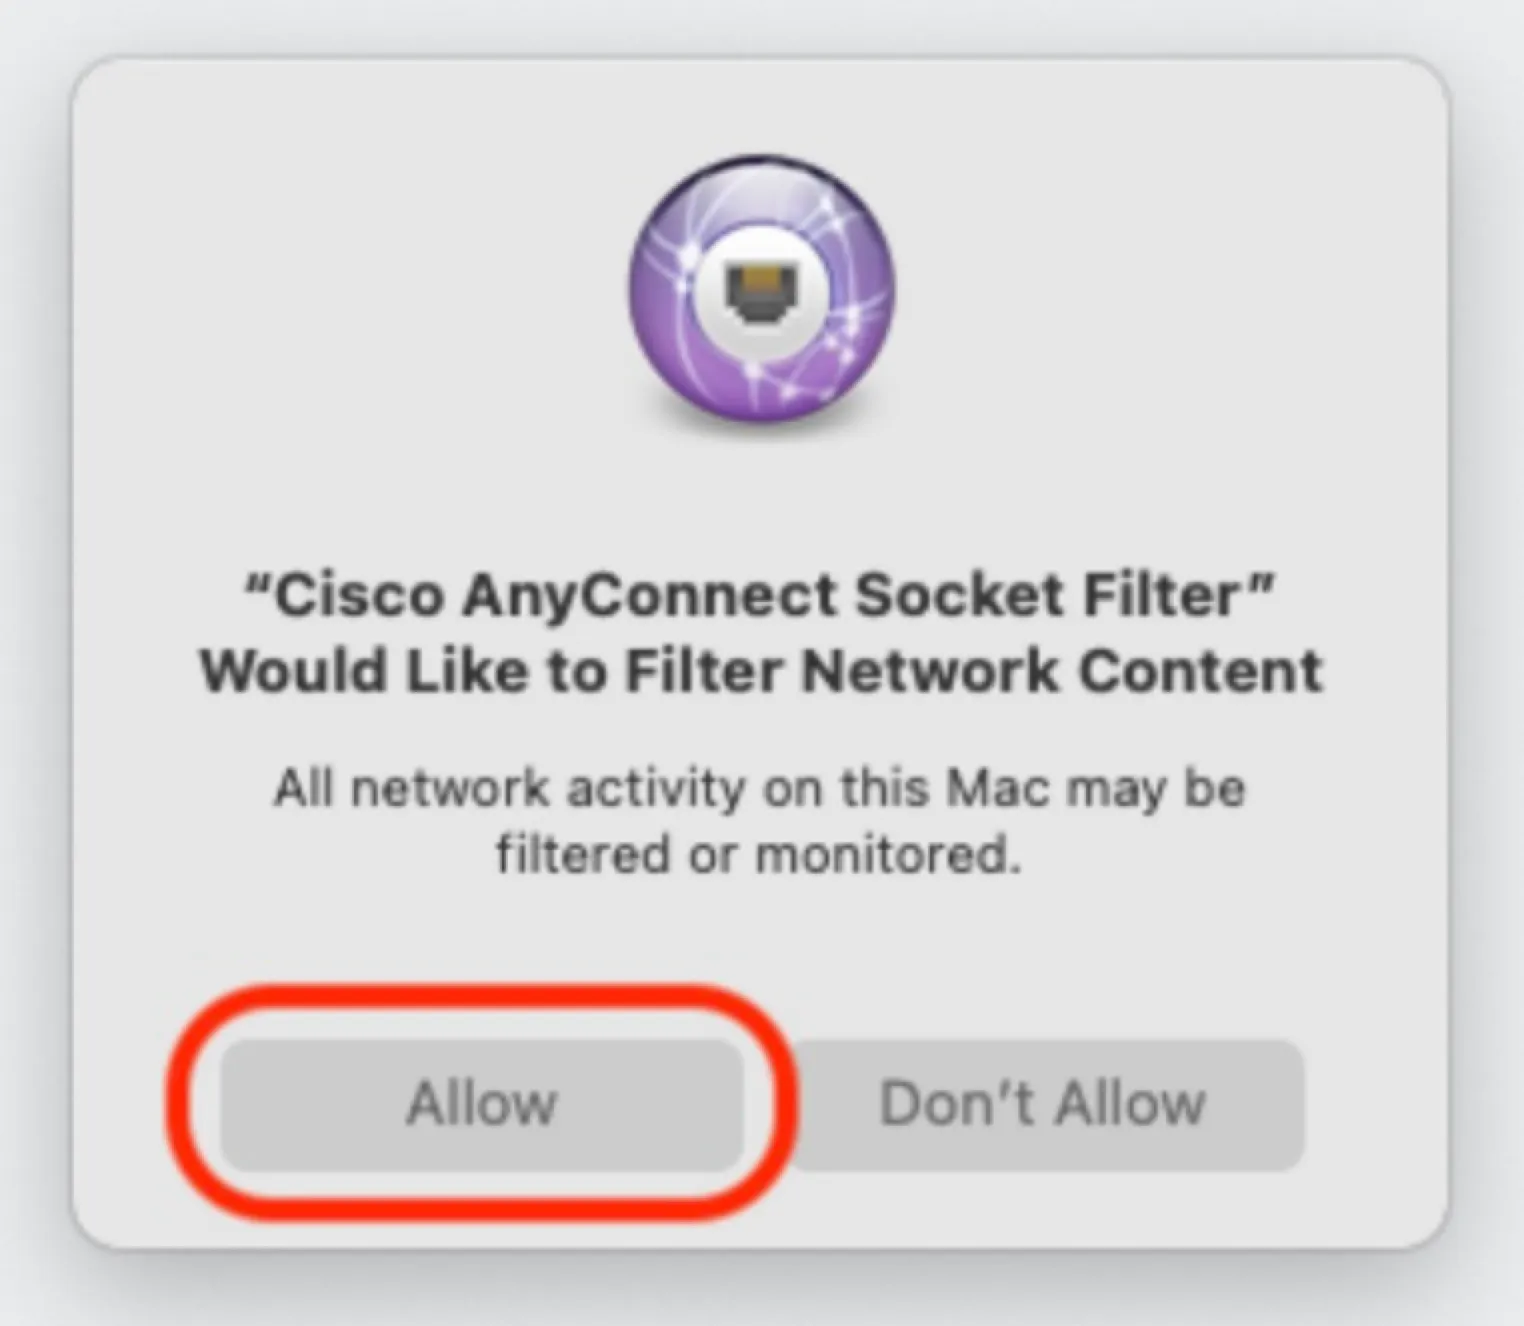
- Follow the installer steps → Allow the system extension/VPN prompt when asked
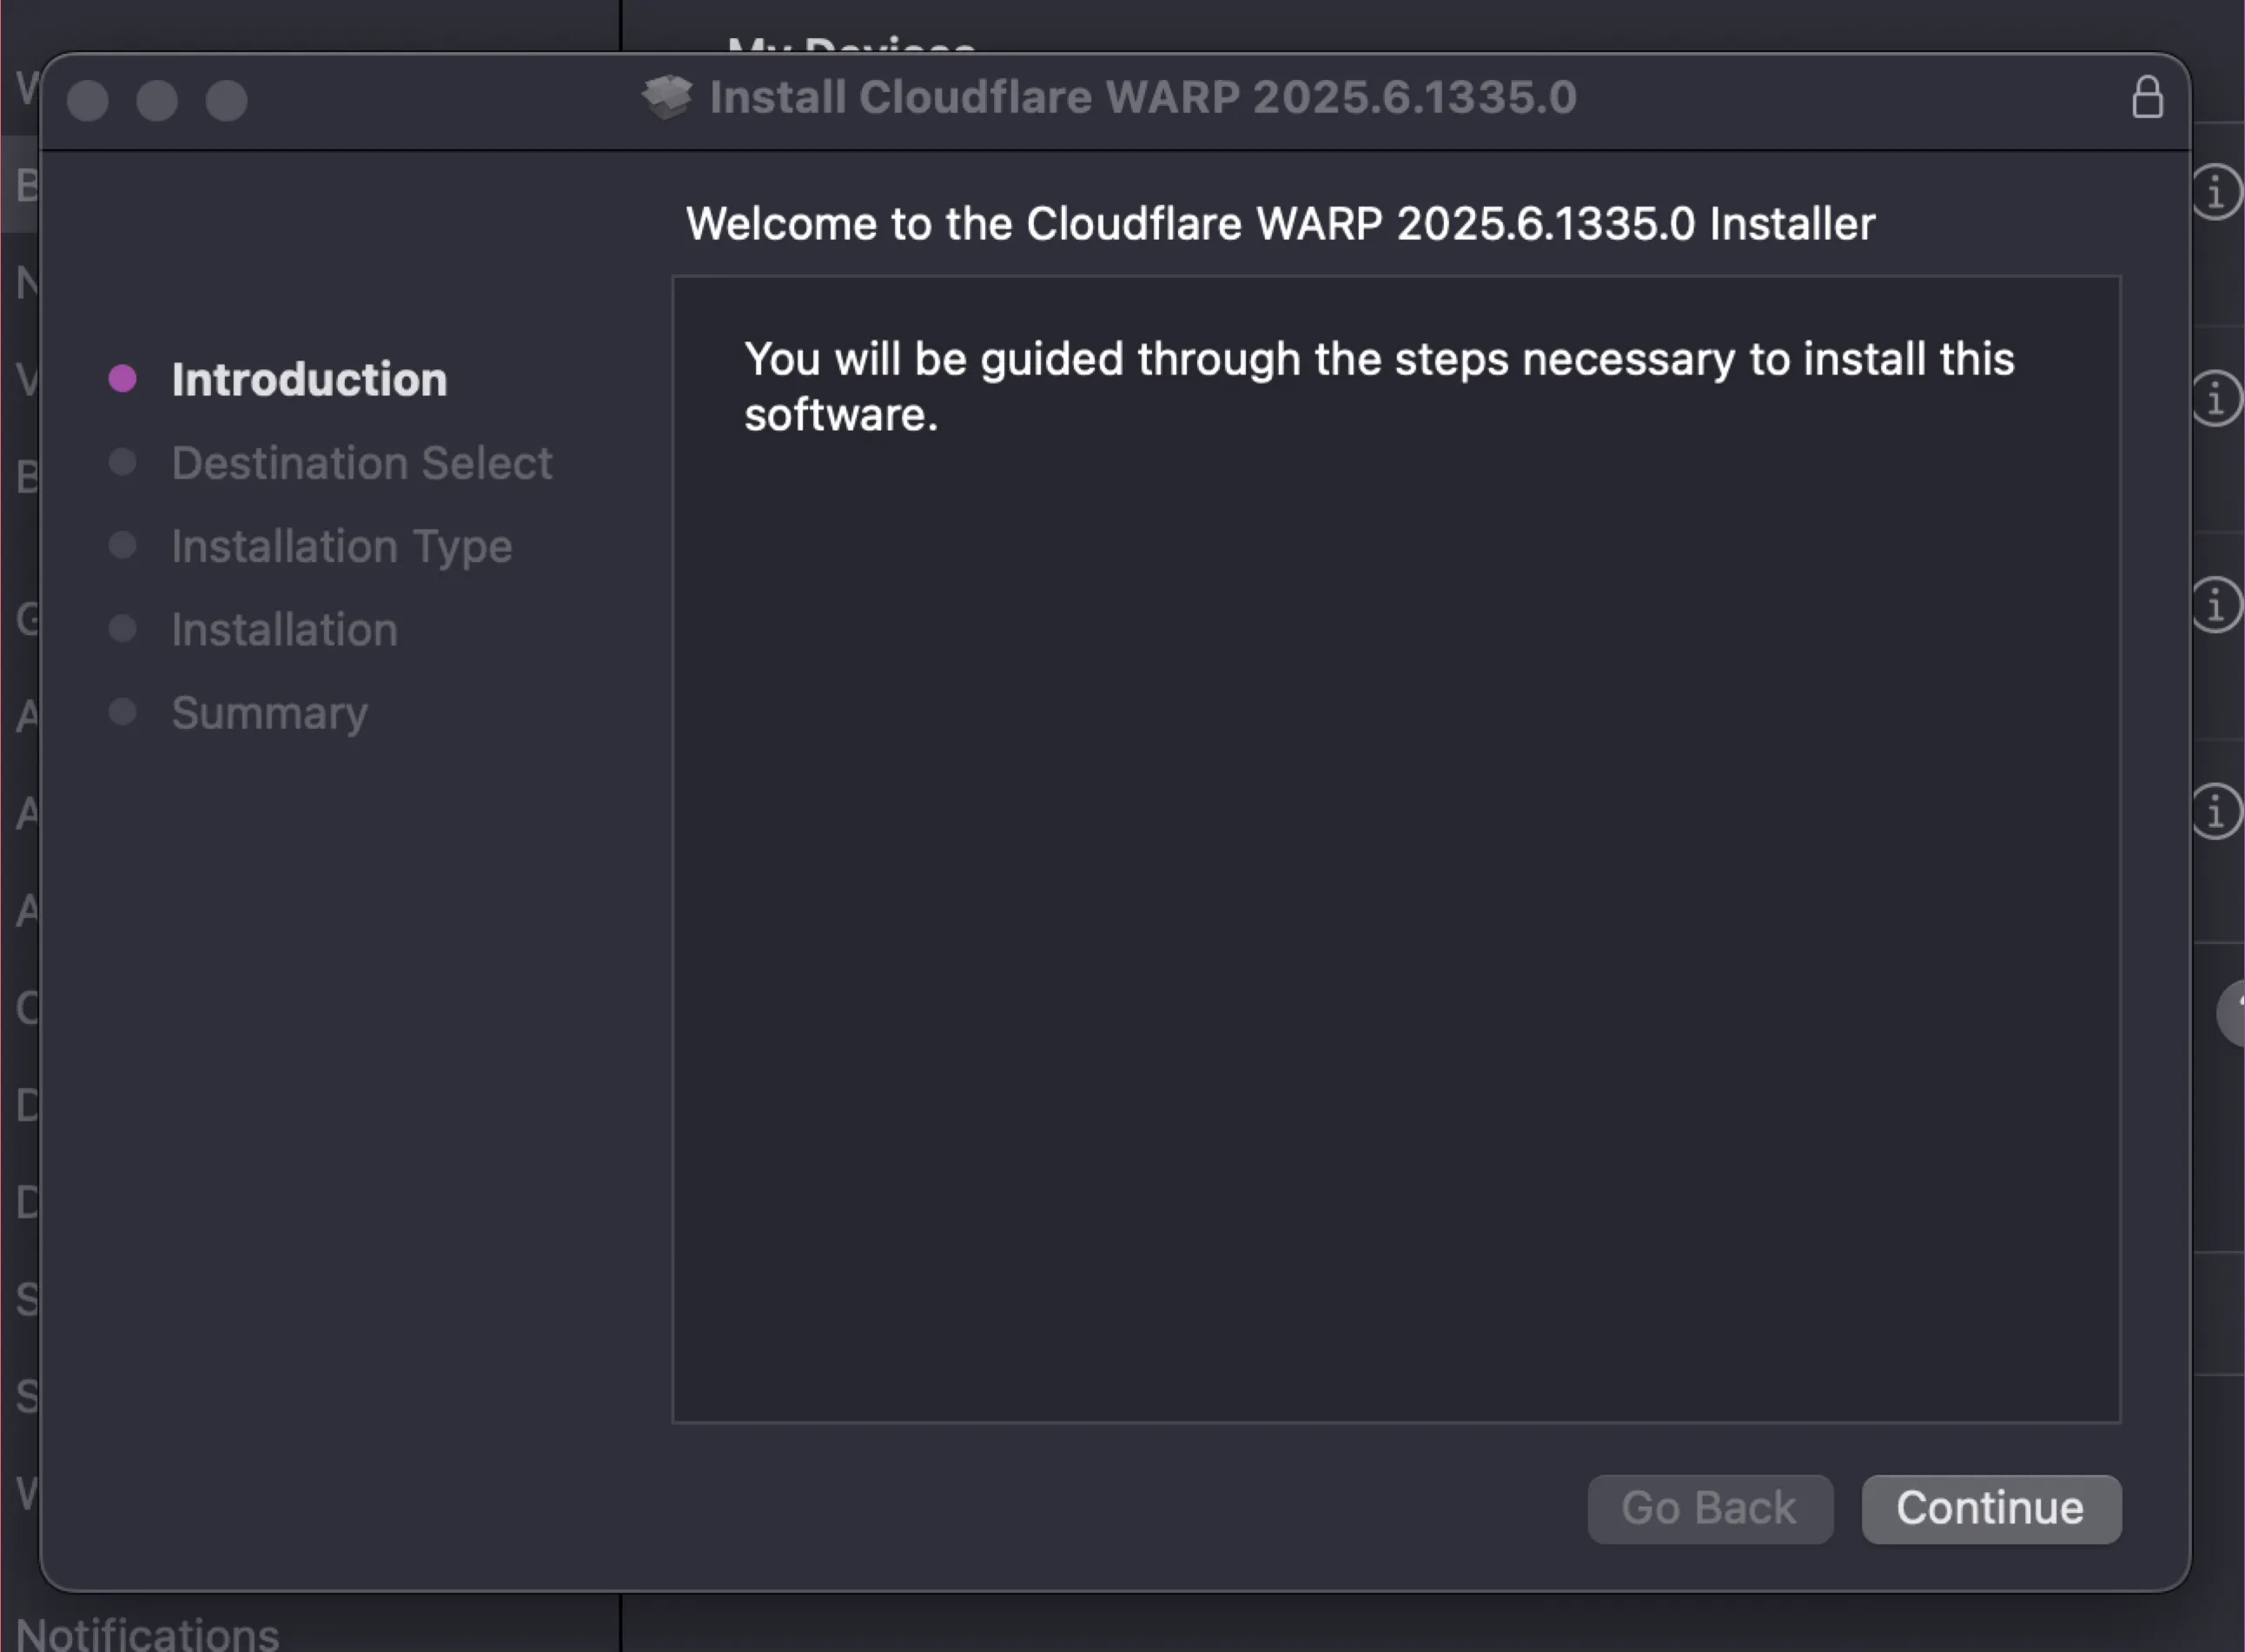
- Open the “Cloudflare WARP” app from Applications / Menu bar

Windows
Section titled “Windows”- Go to https://1.1.1.1/
- Click “Download for Windows” and run the installer
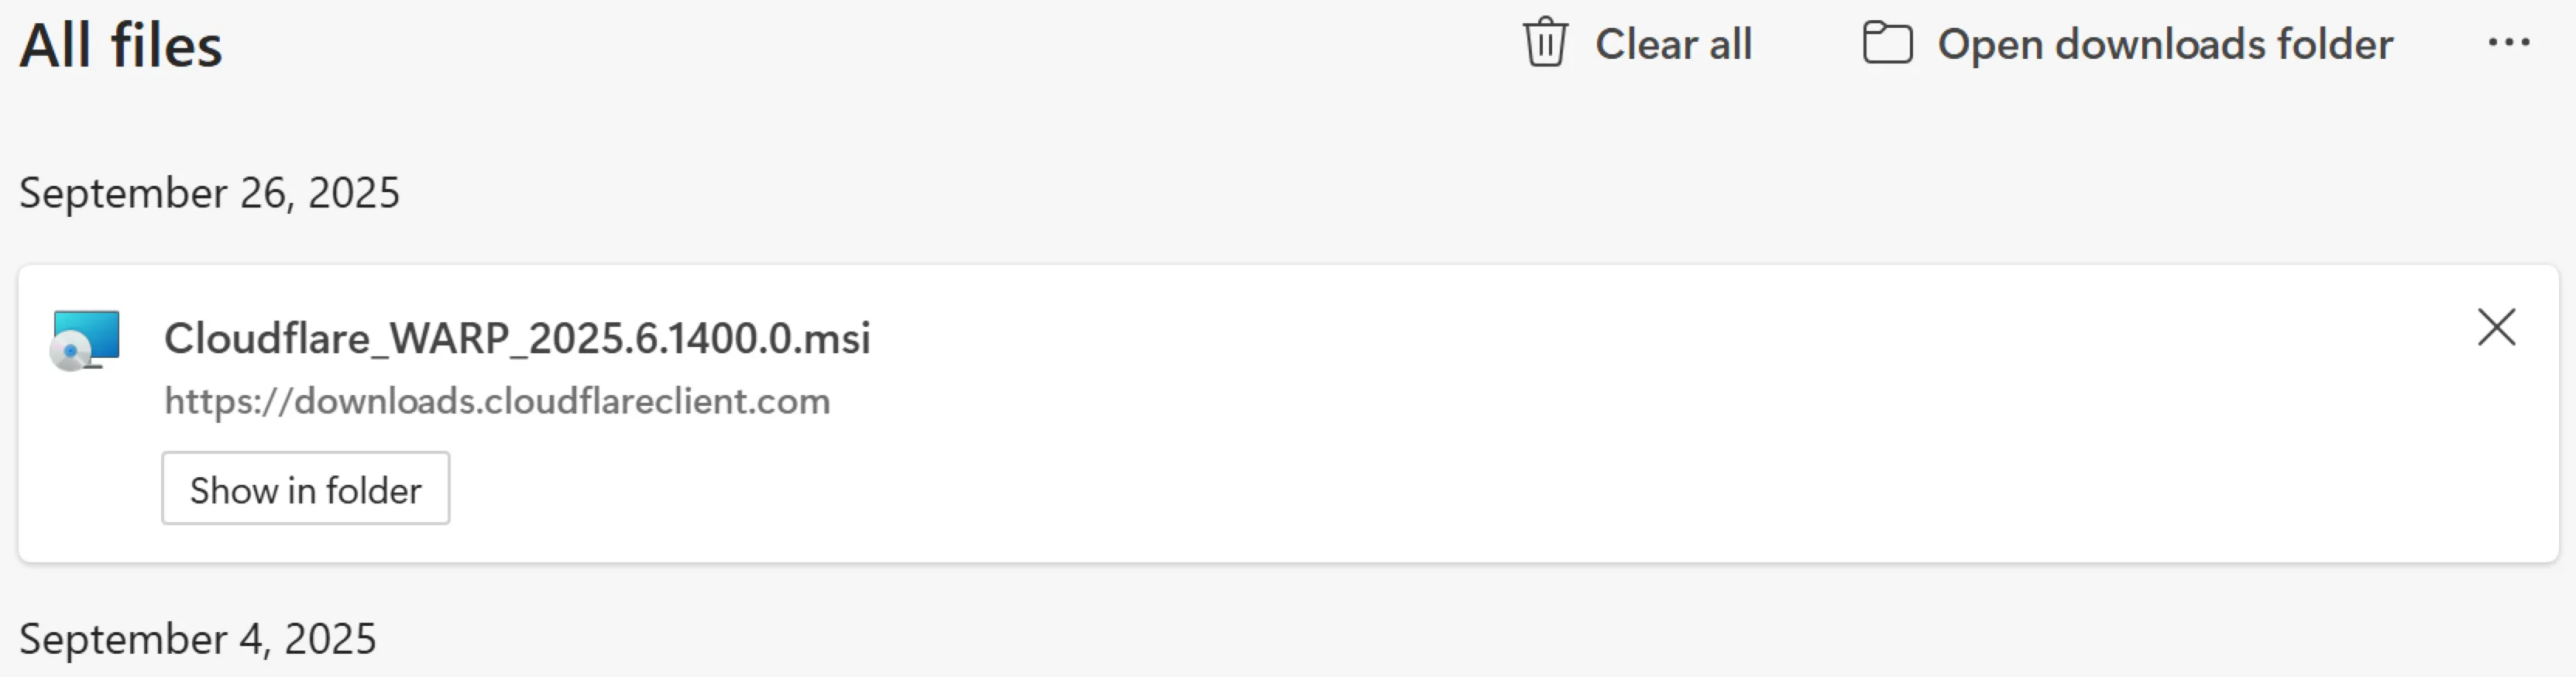
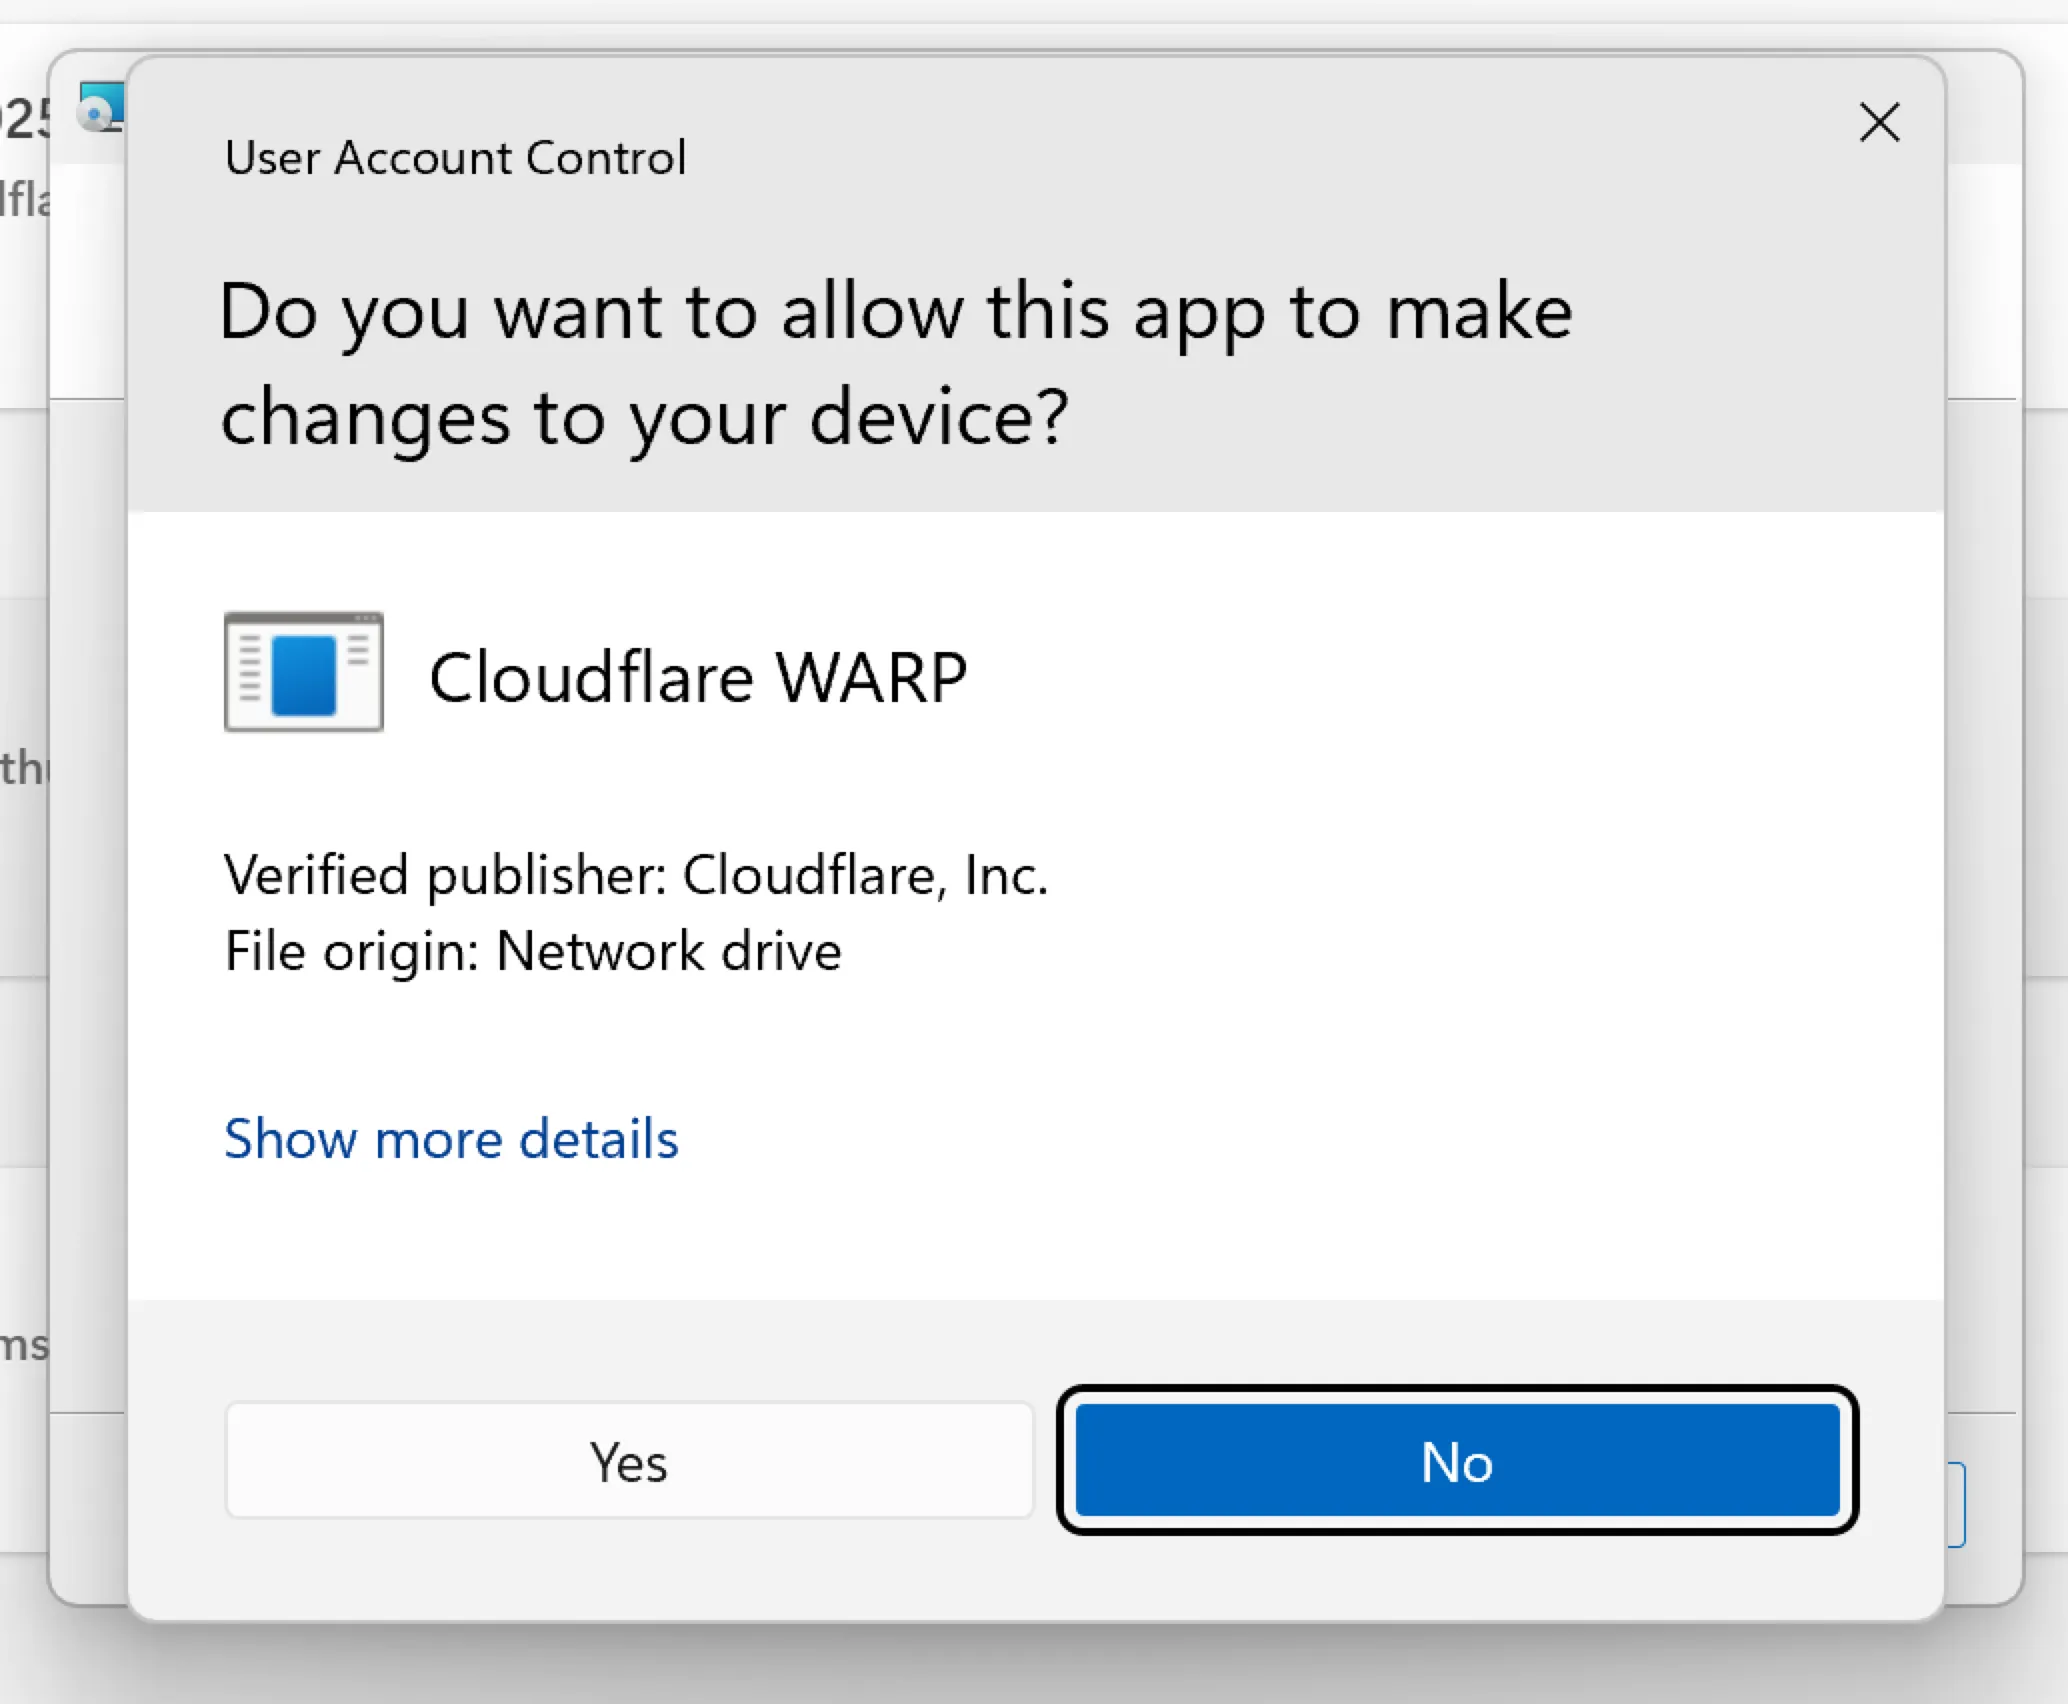
- Accept any driver/network prompts

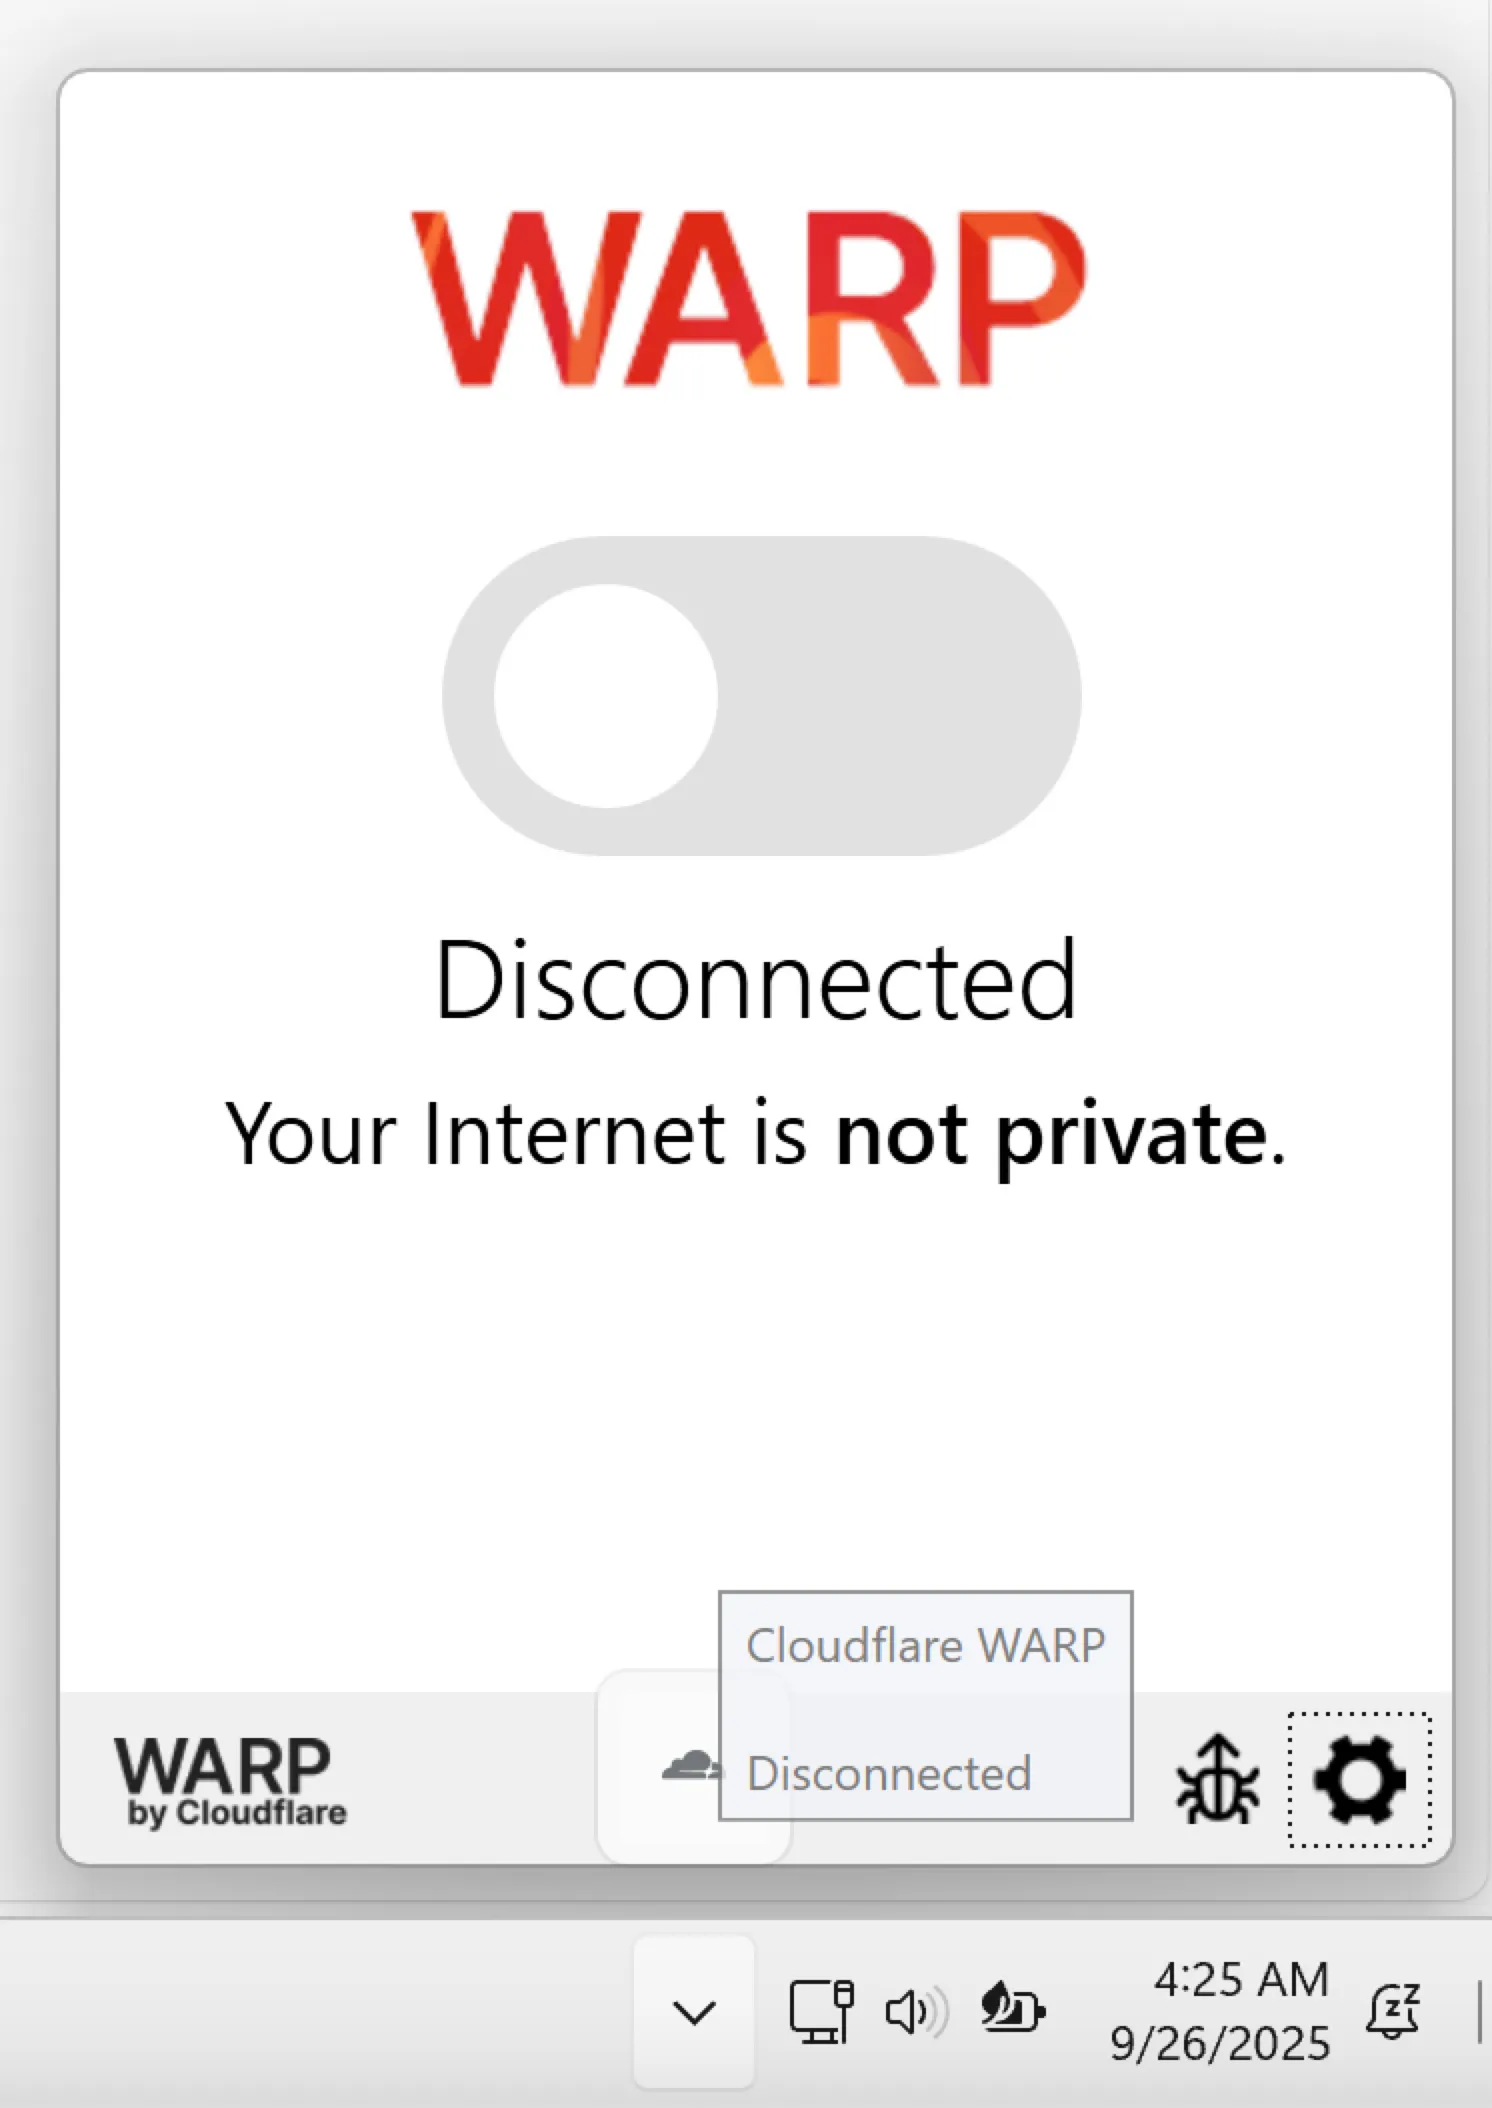
- Open the “Cloudflare WARP” app from the Start menu / System tray
- Follow the instructions for your distro: https://developers.cloudflare.com/warp-client/get-started/linux/
- Ensure the
warp-cliservice is running after installation
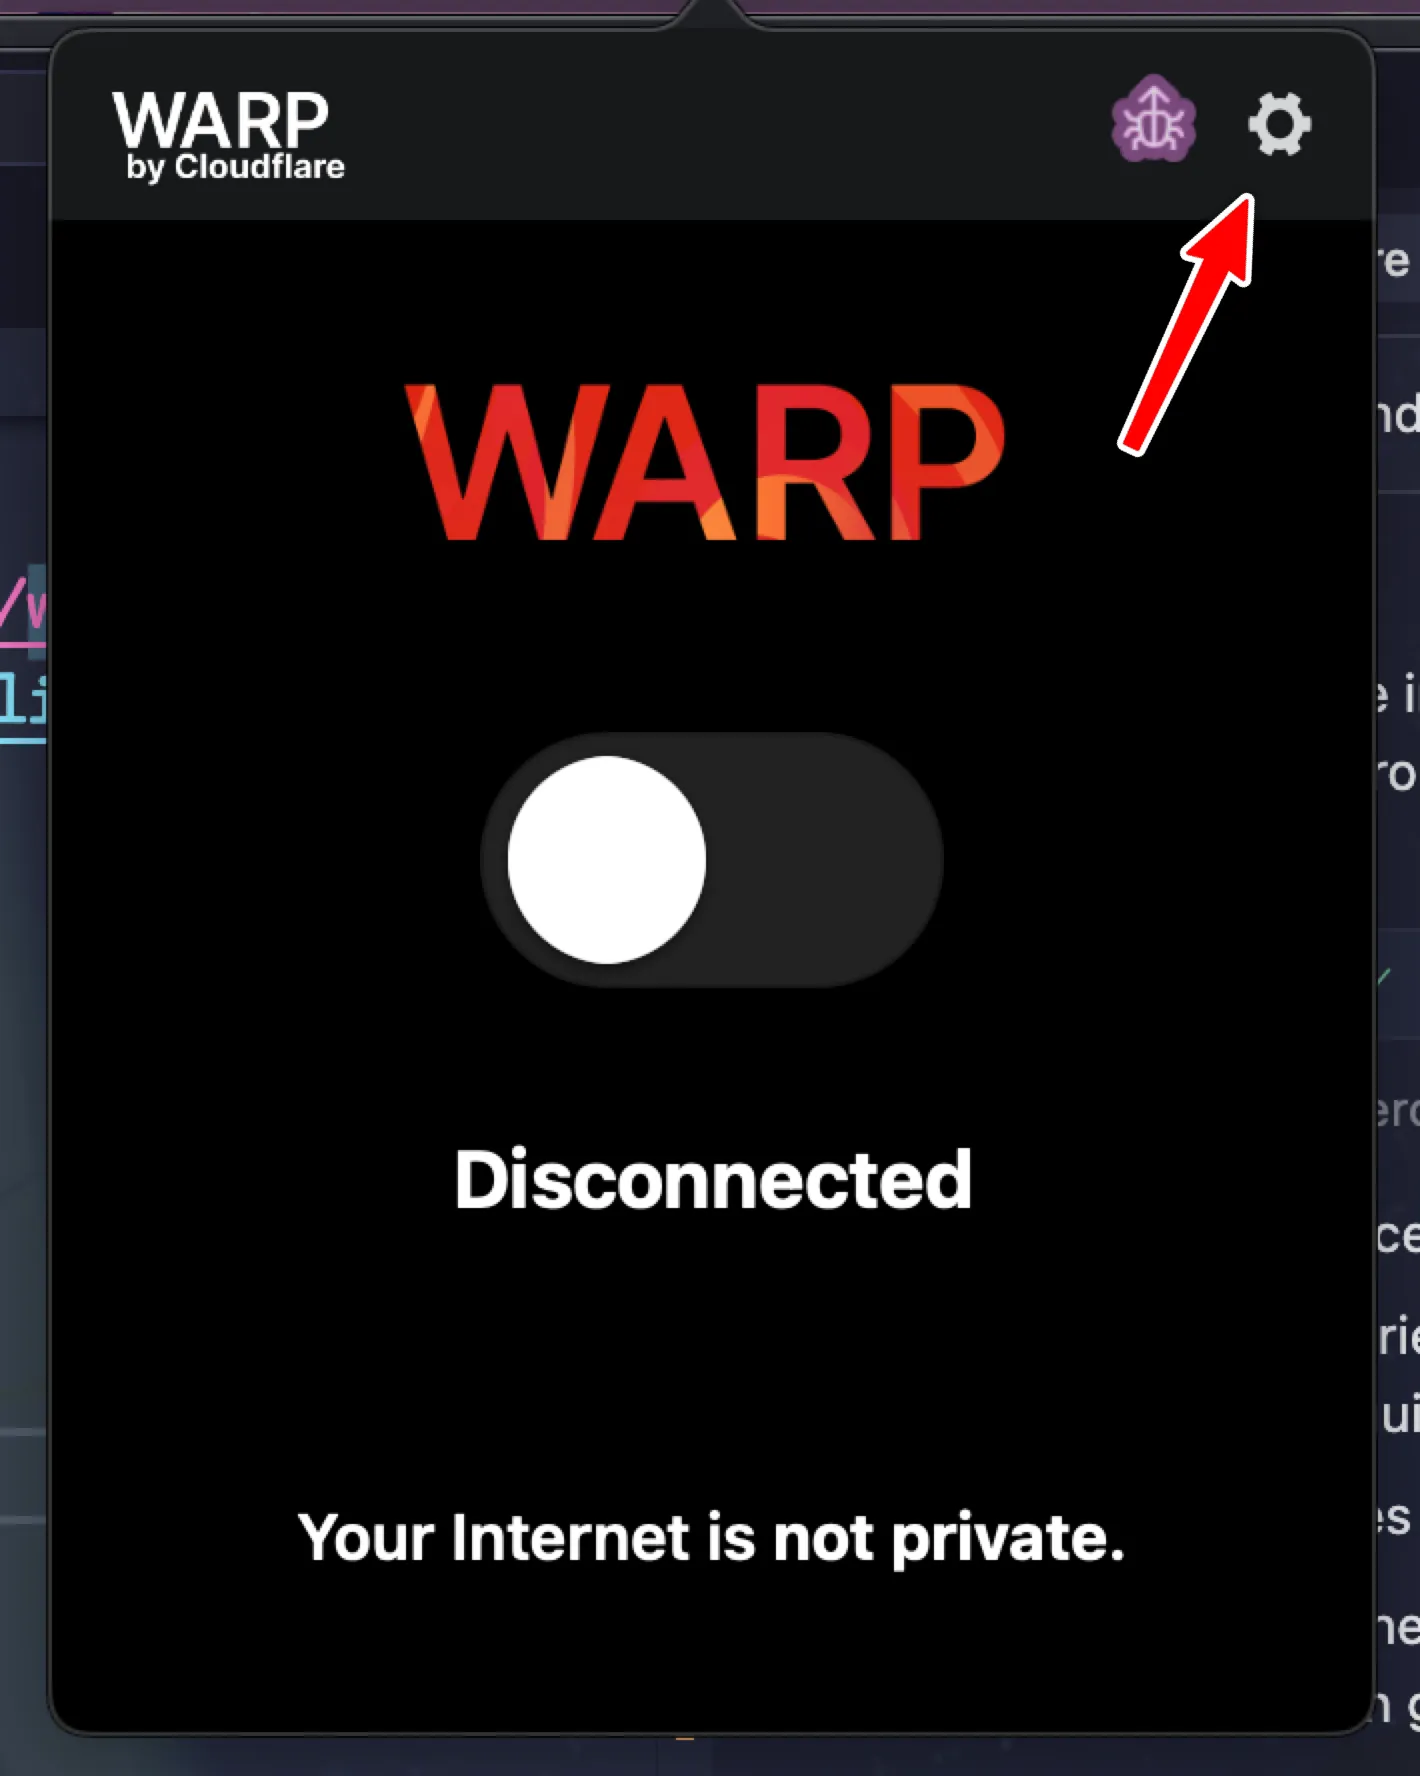
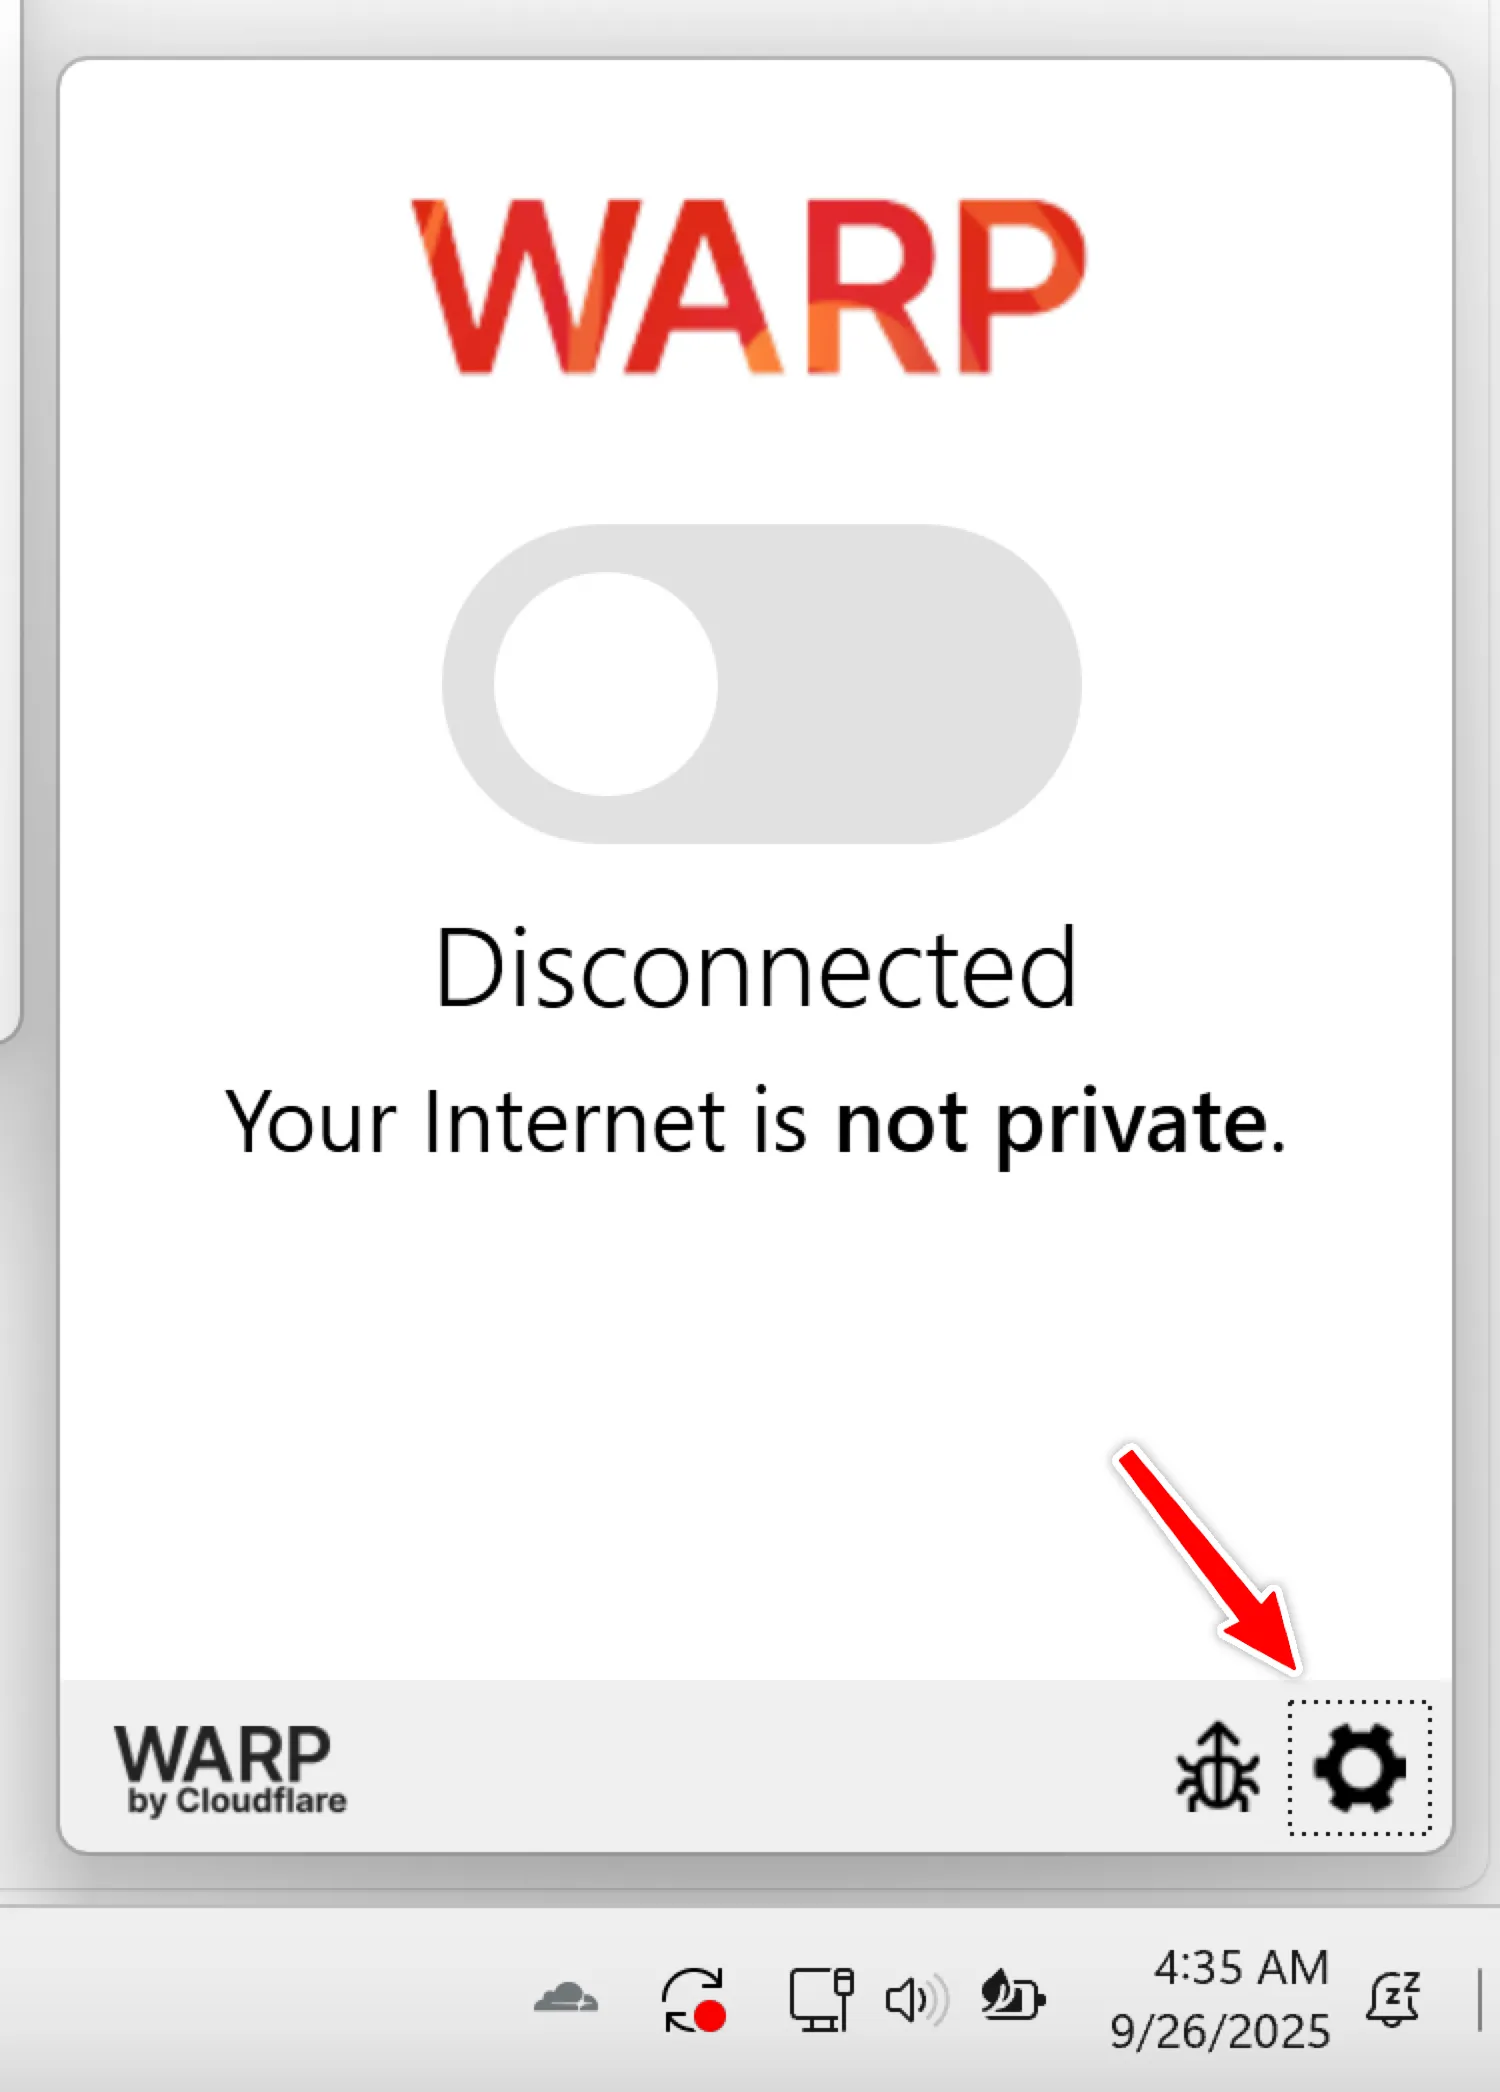
After installing, open the Cloudflare WARP app.
Connect to Synoralab Zero Trust
Section titled “Connect to Synoralab Zero Trust”- Open the WARP app
- Open Settings/Preferences:
- macOS: Click the menu icon → Preferences at Top Right
- Windows: Click the gear icon → Preferences at Bottom Right
- macOS: Click the menu icon → Preferences at Top Right
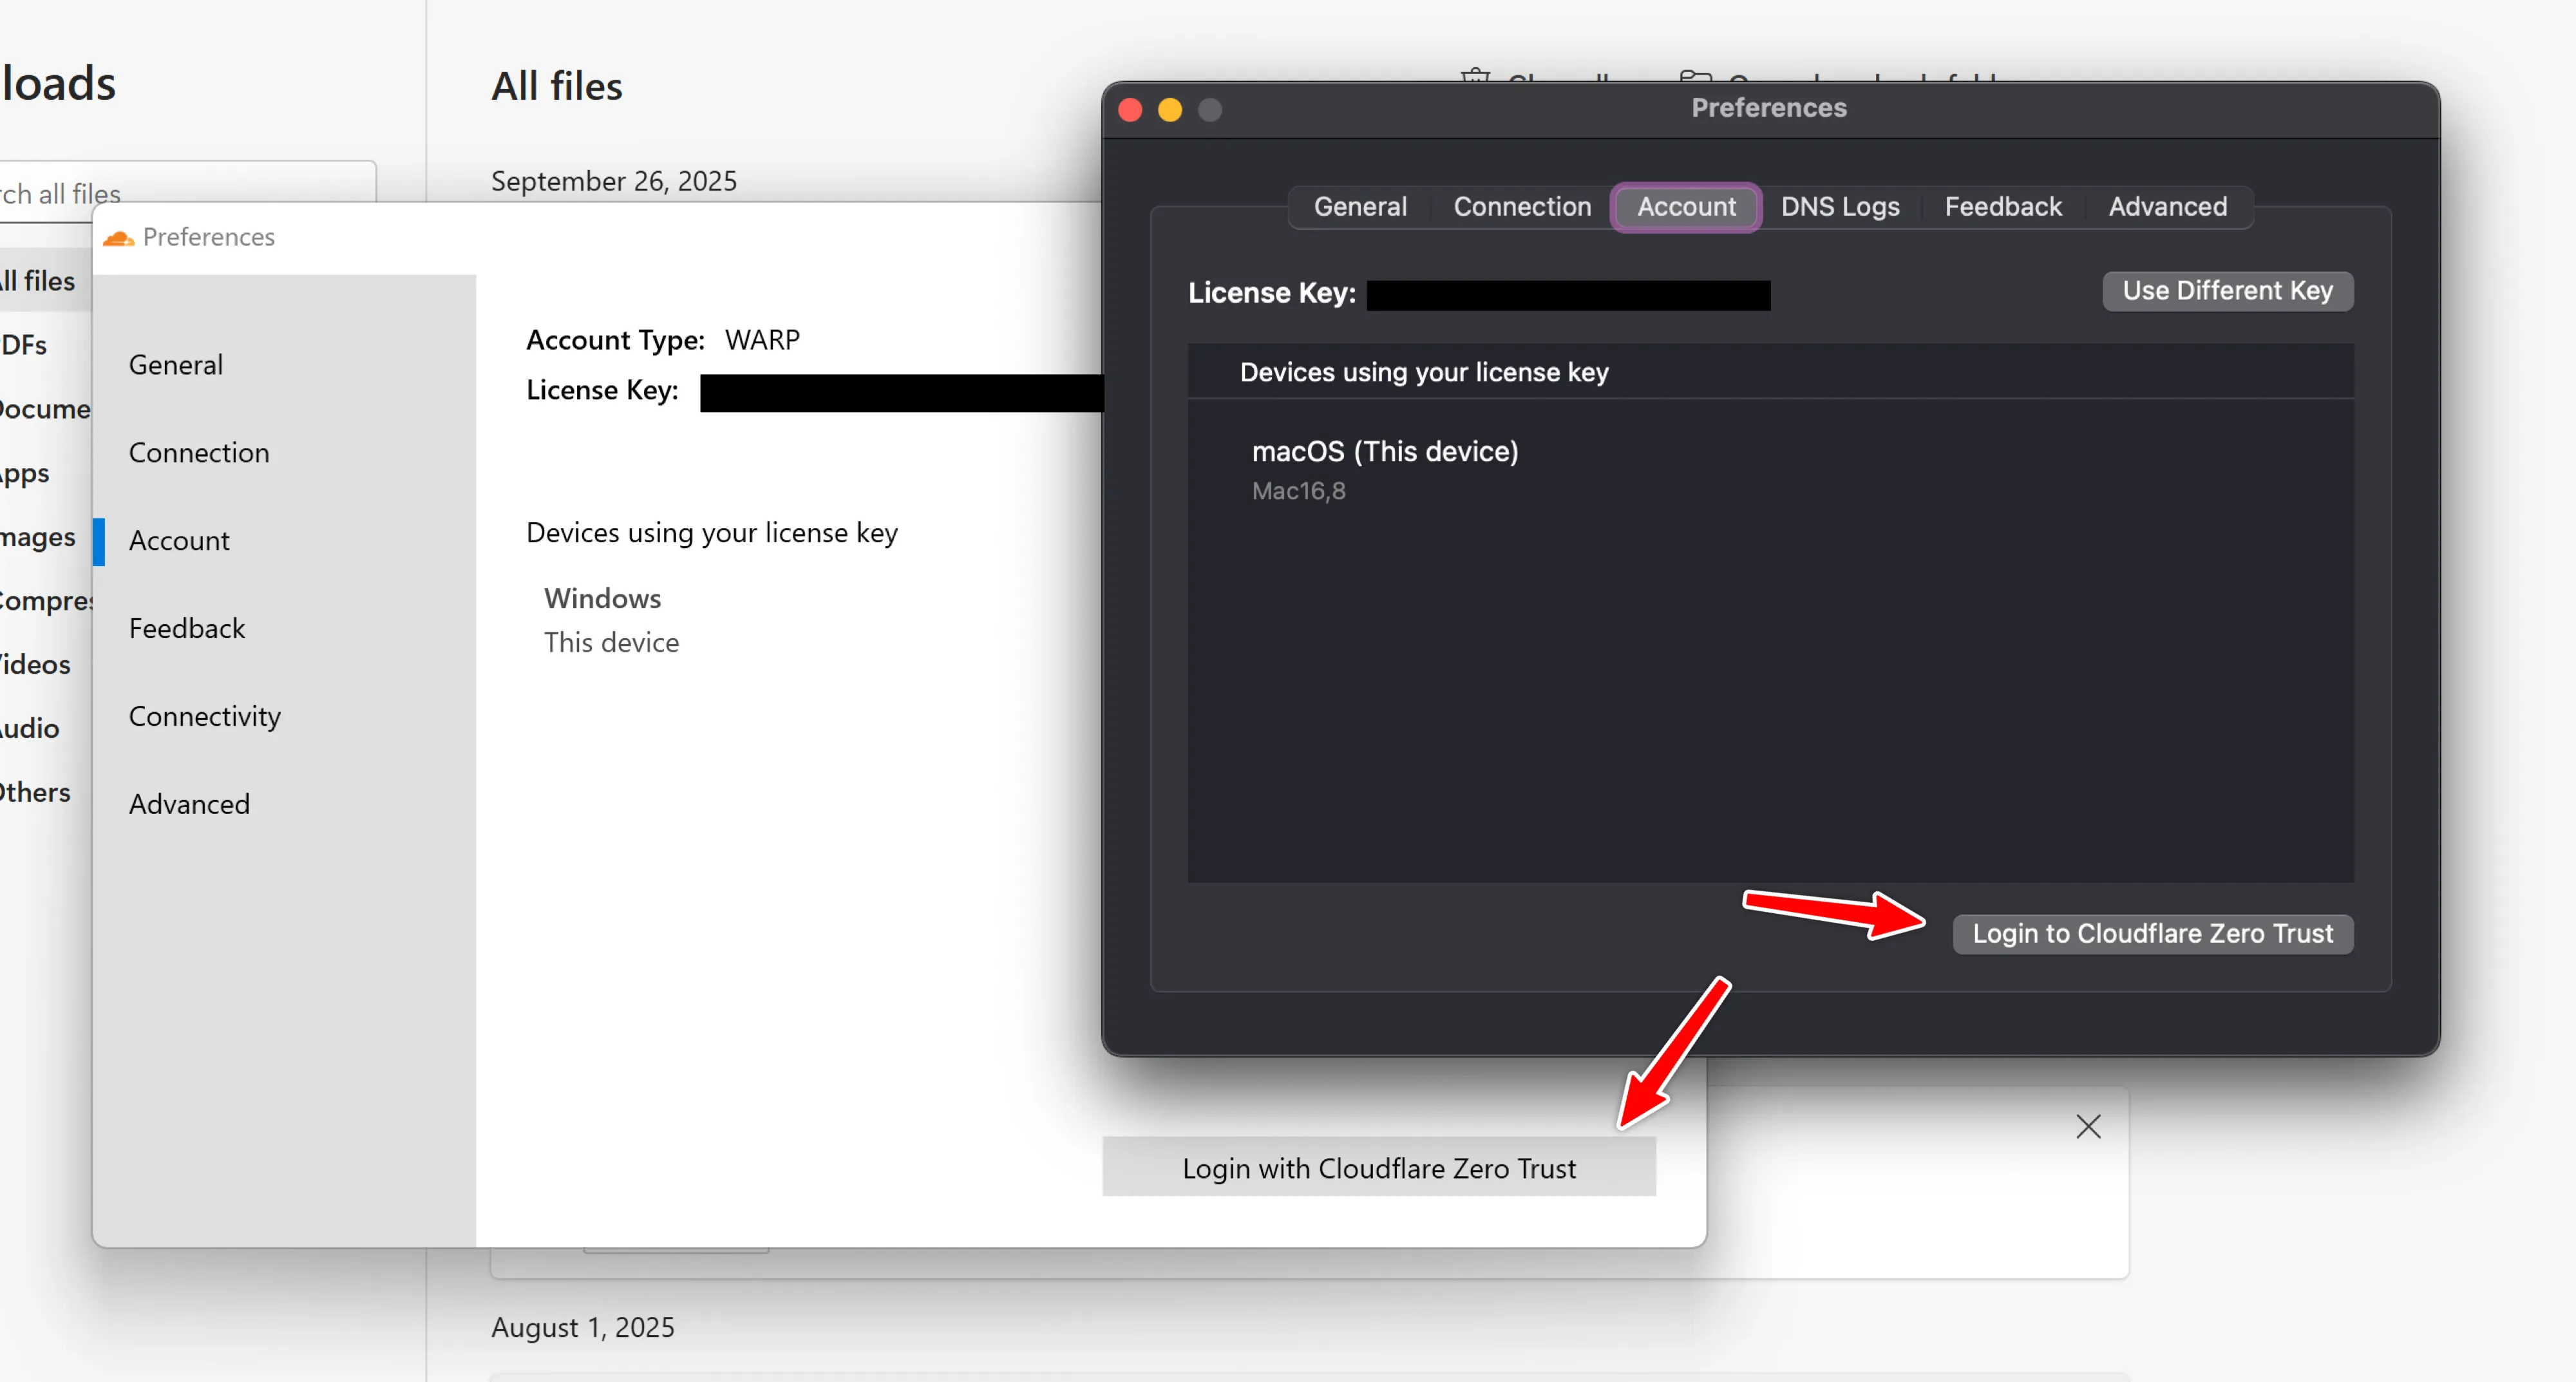
- Click on “Account” tab → “Login with Cloudflare Zero Trust”
- When asked for your Team name (organization), type exactly:
synoralab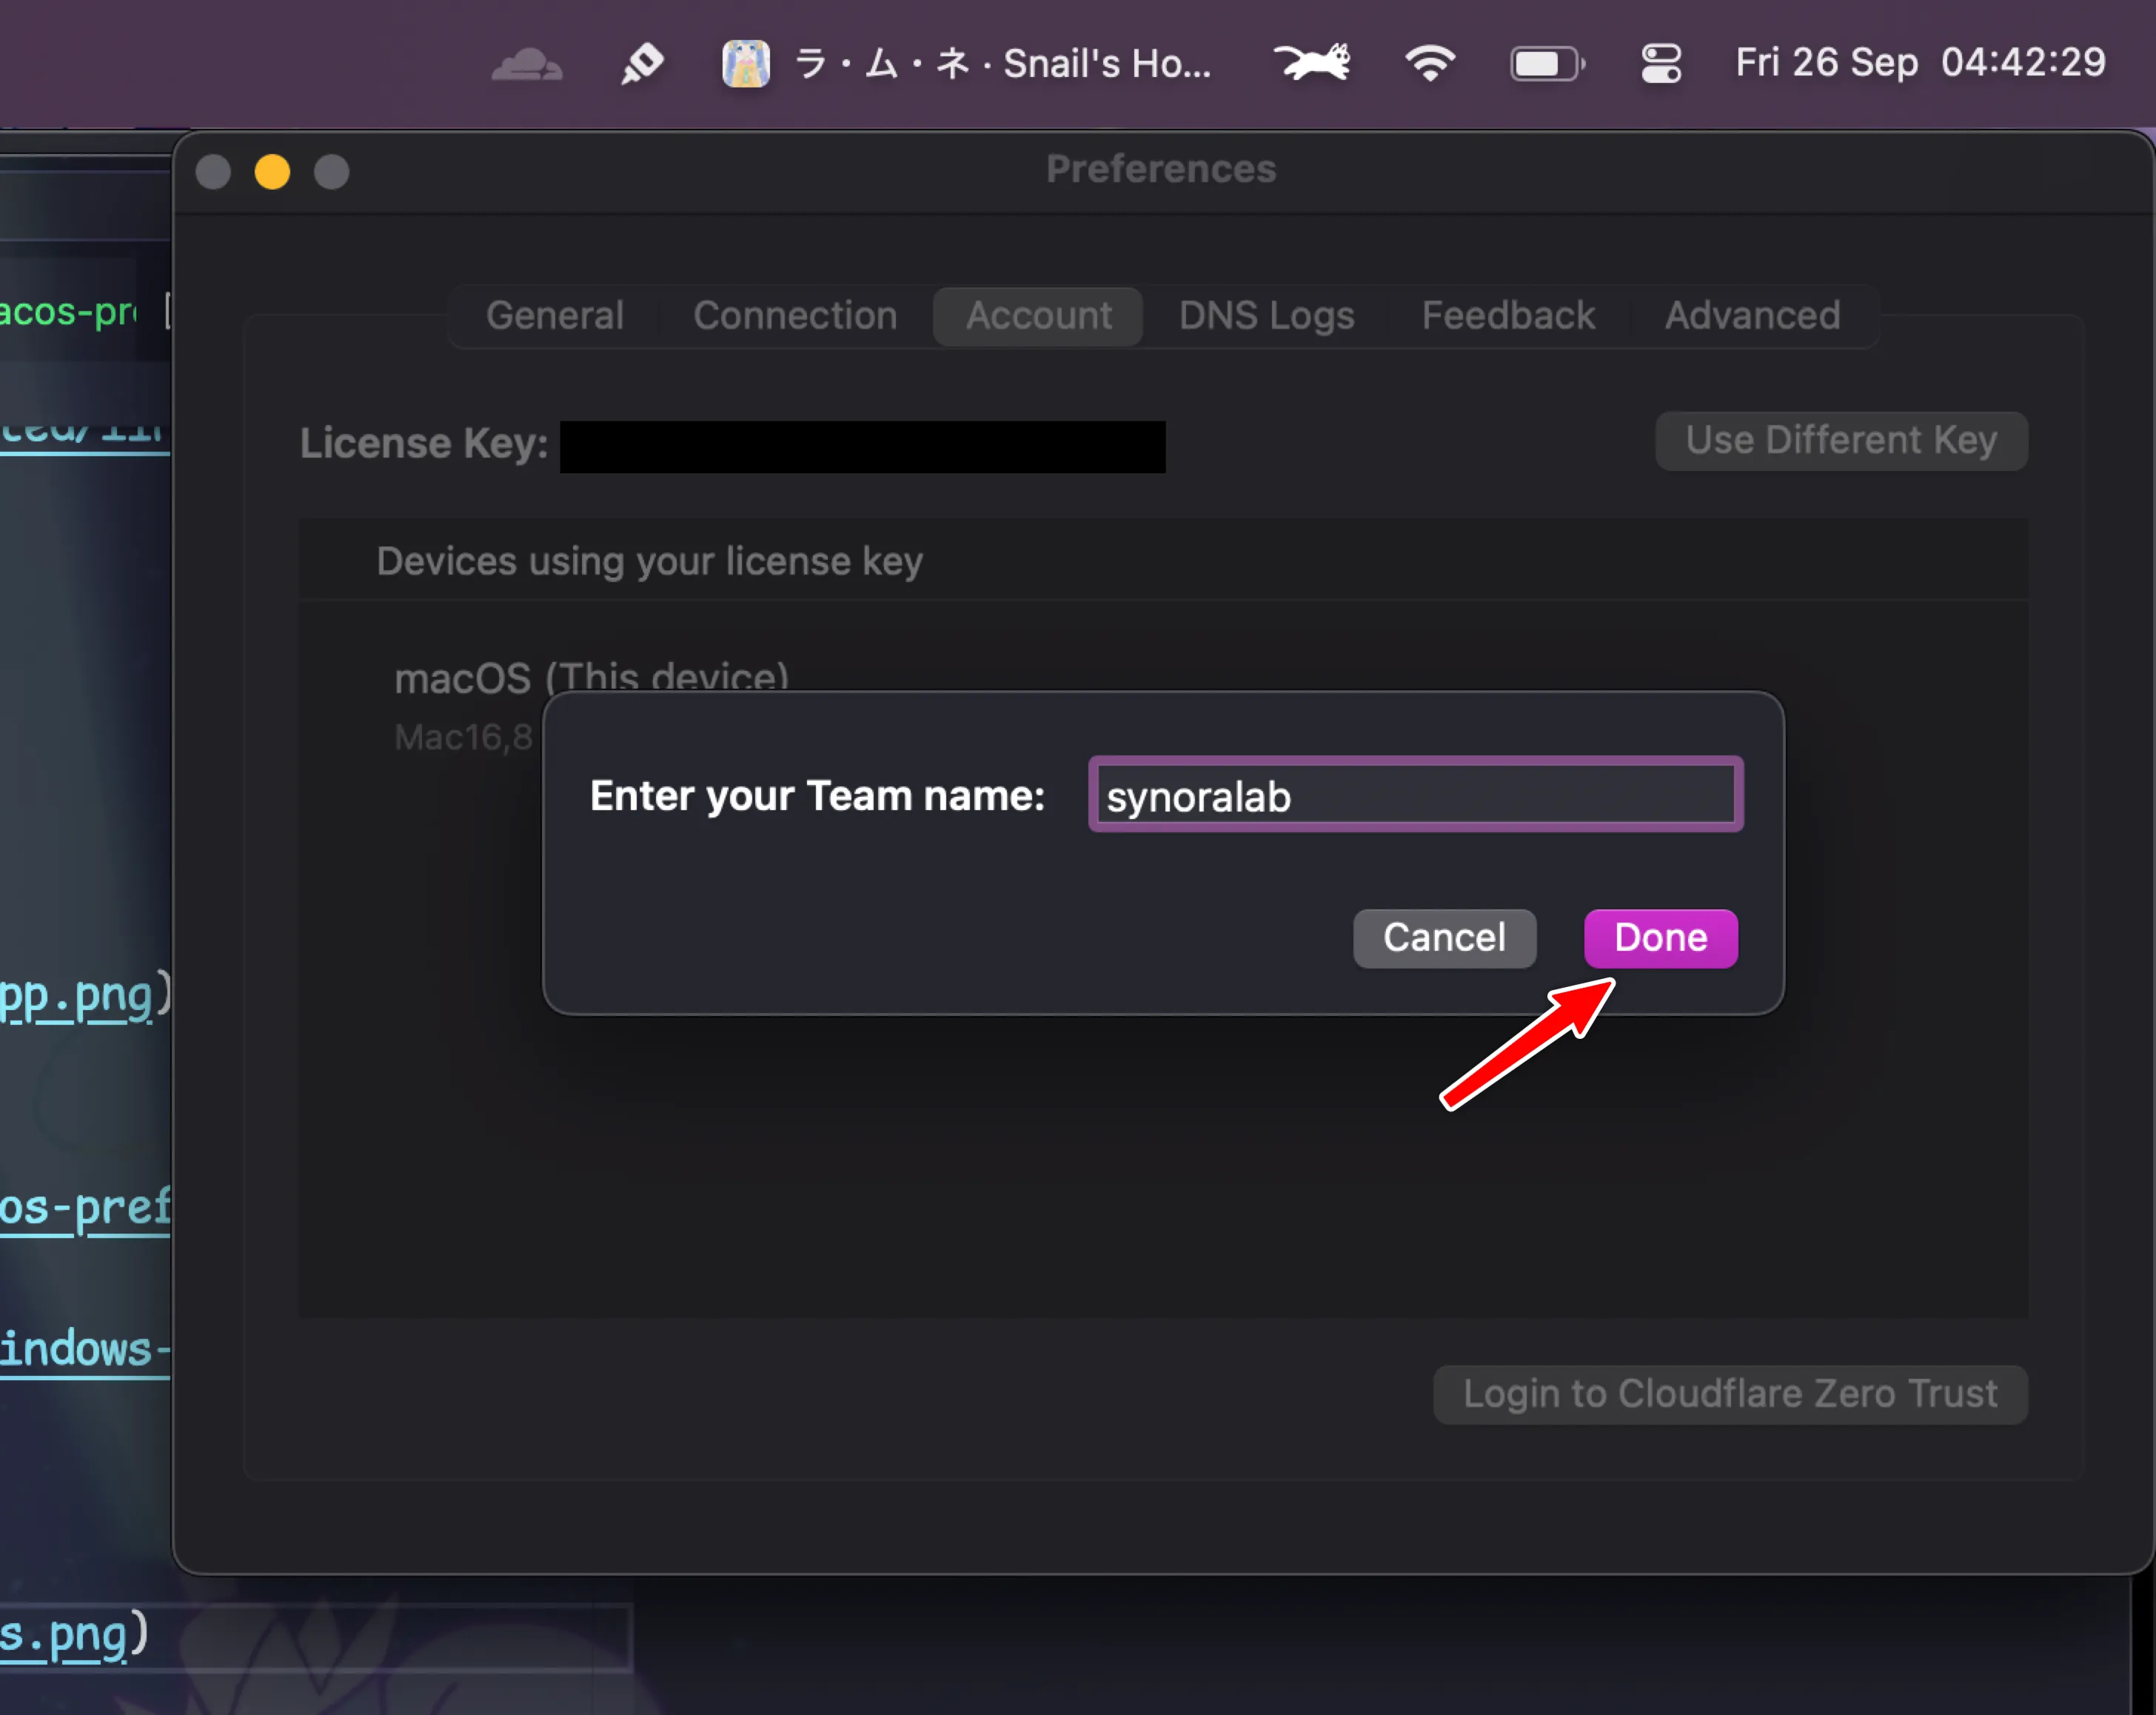
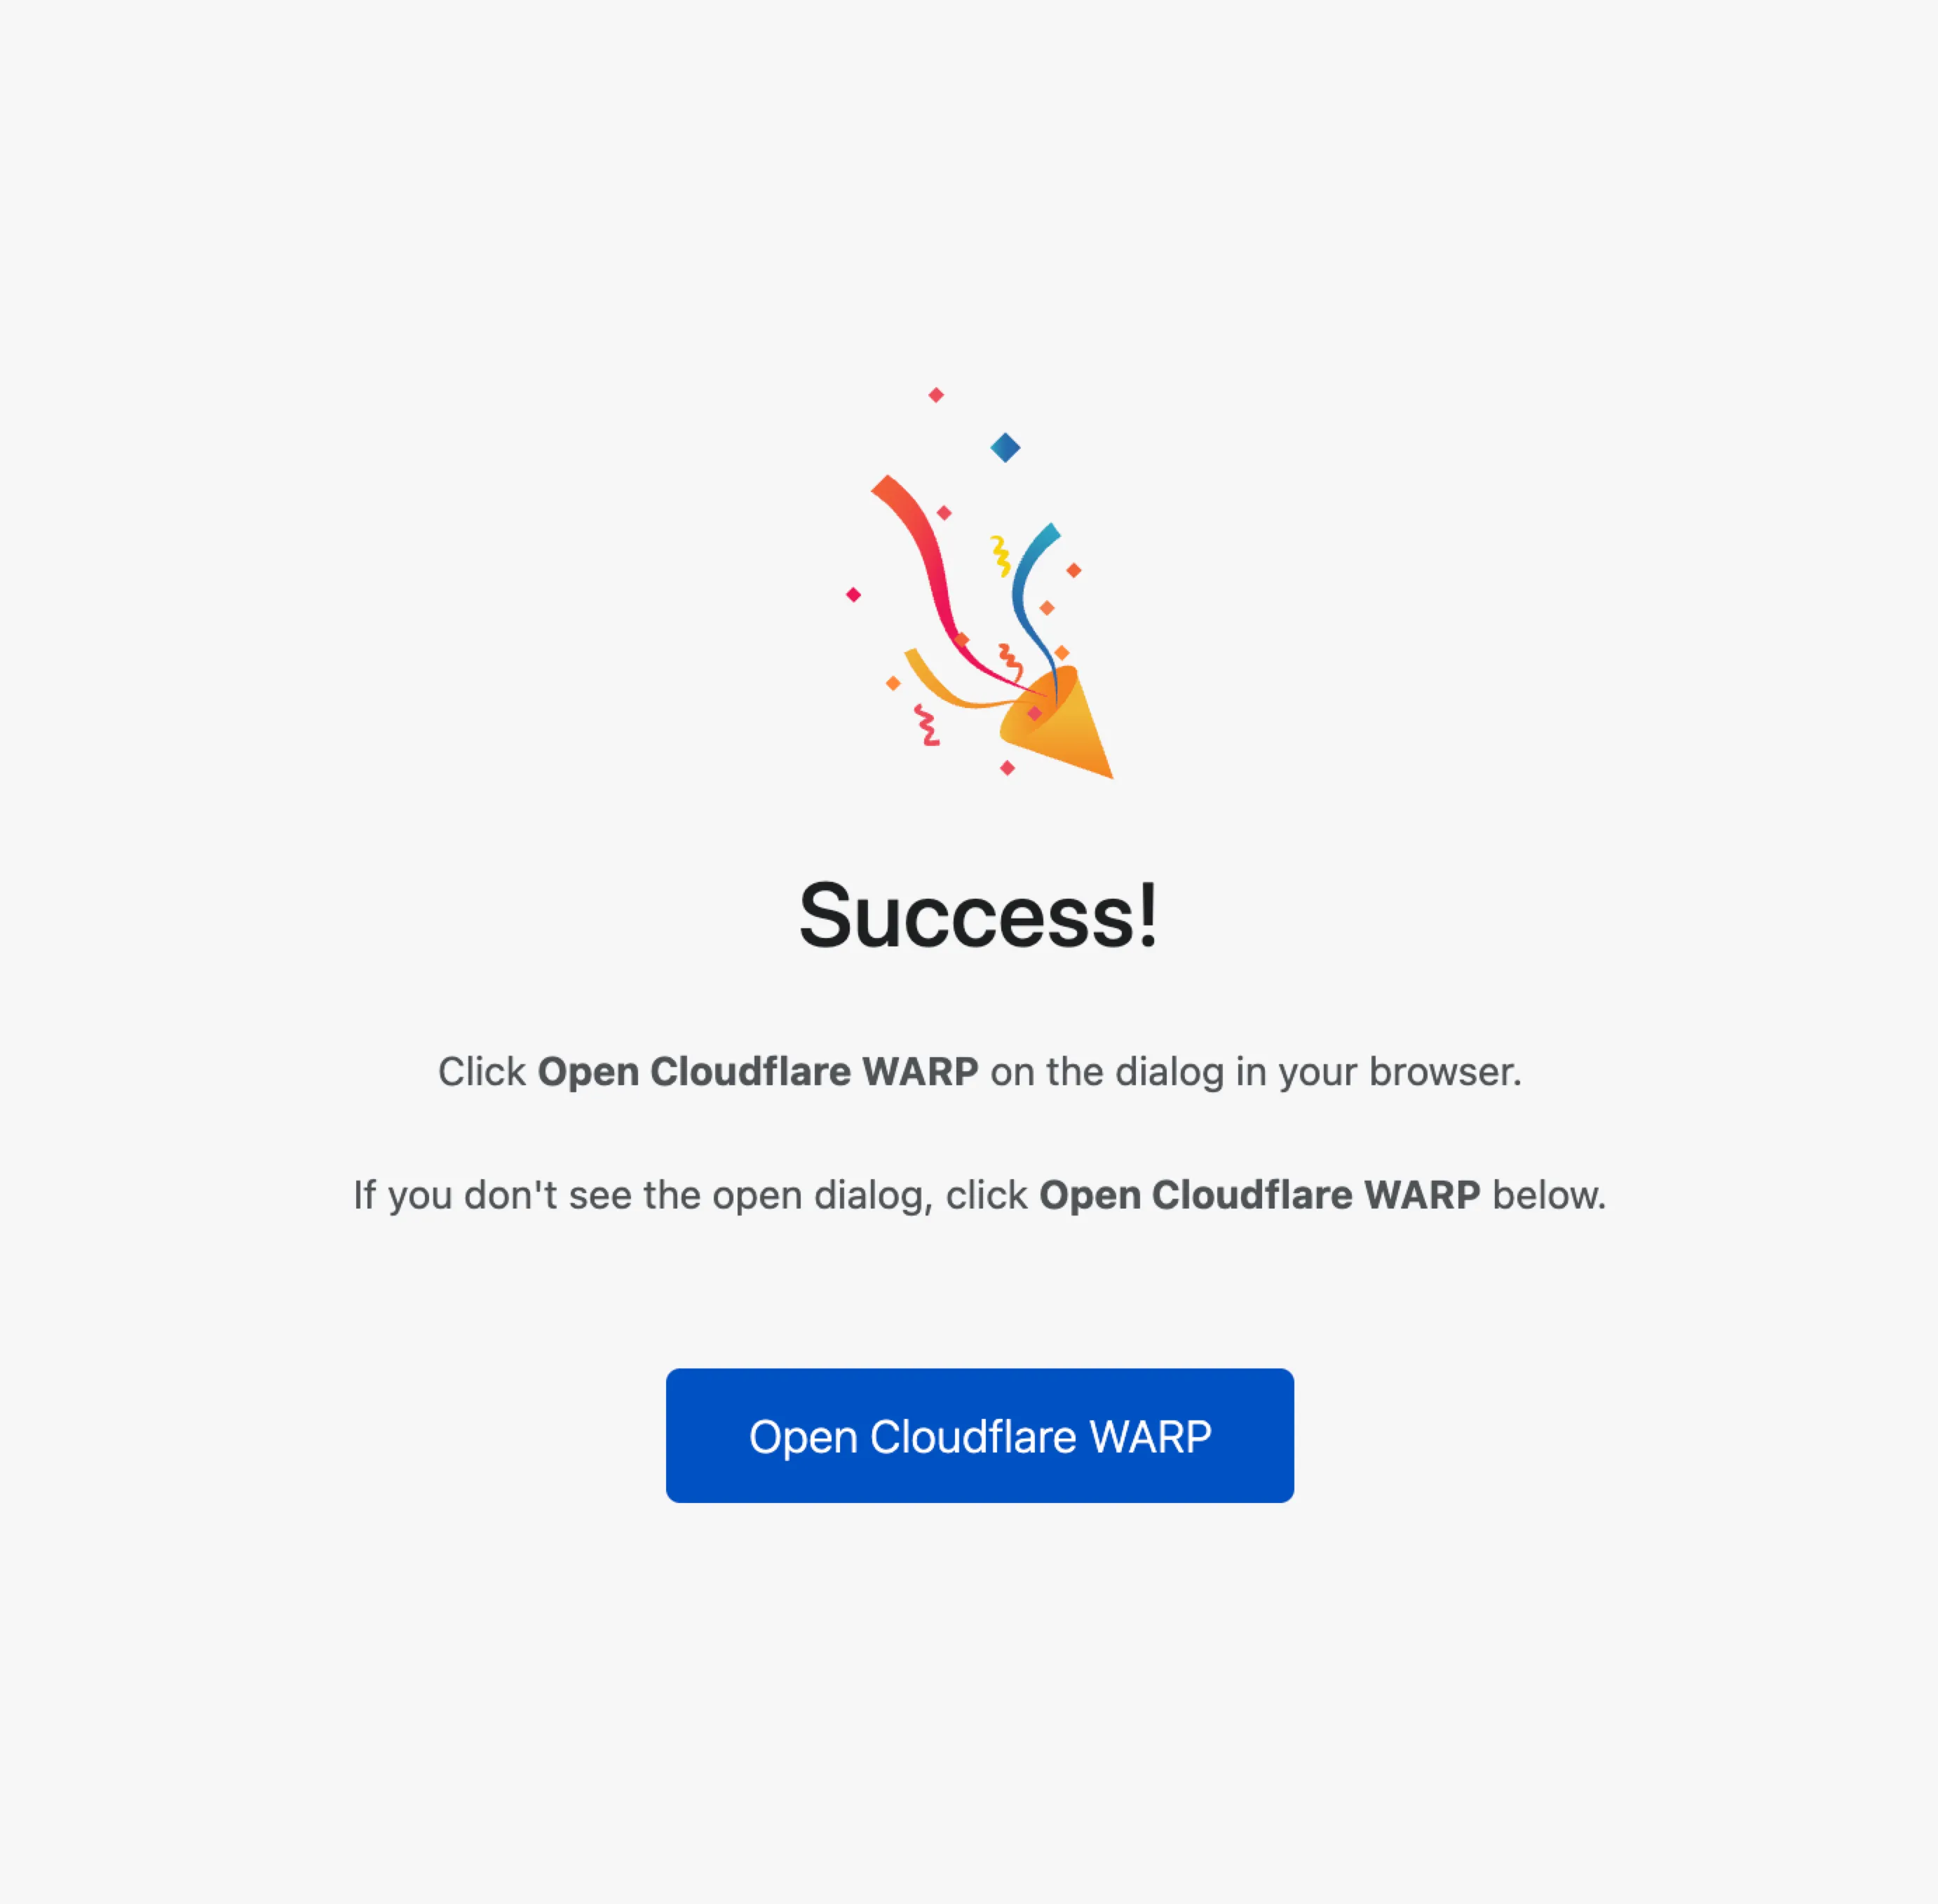
- Your browser will open. Sign in on company google account
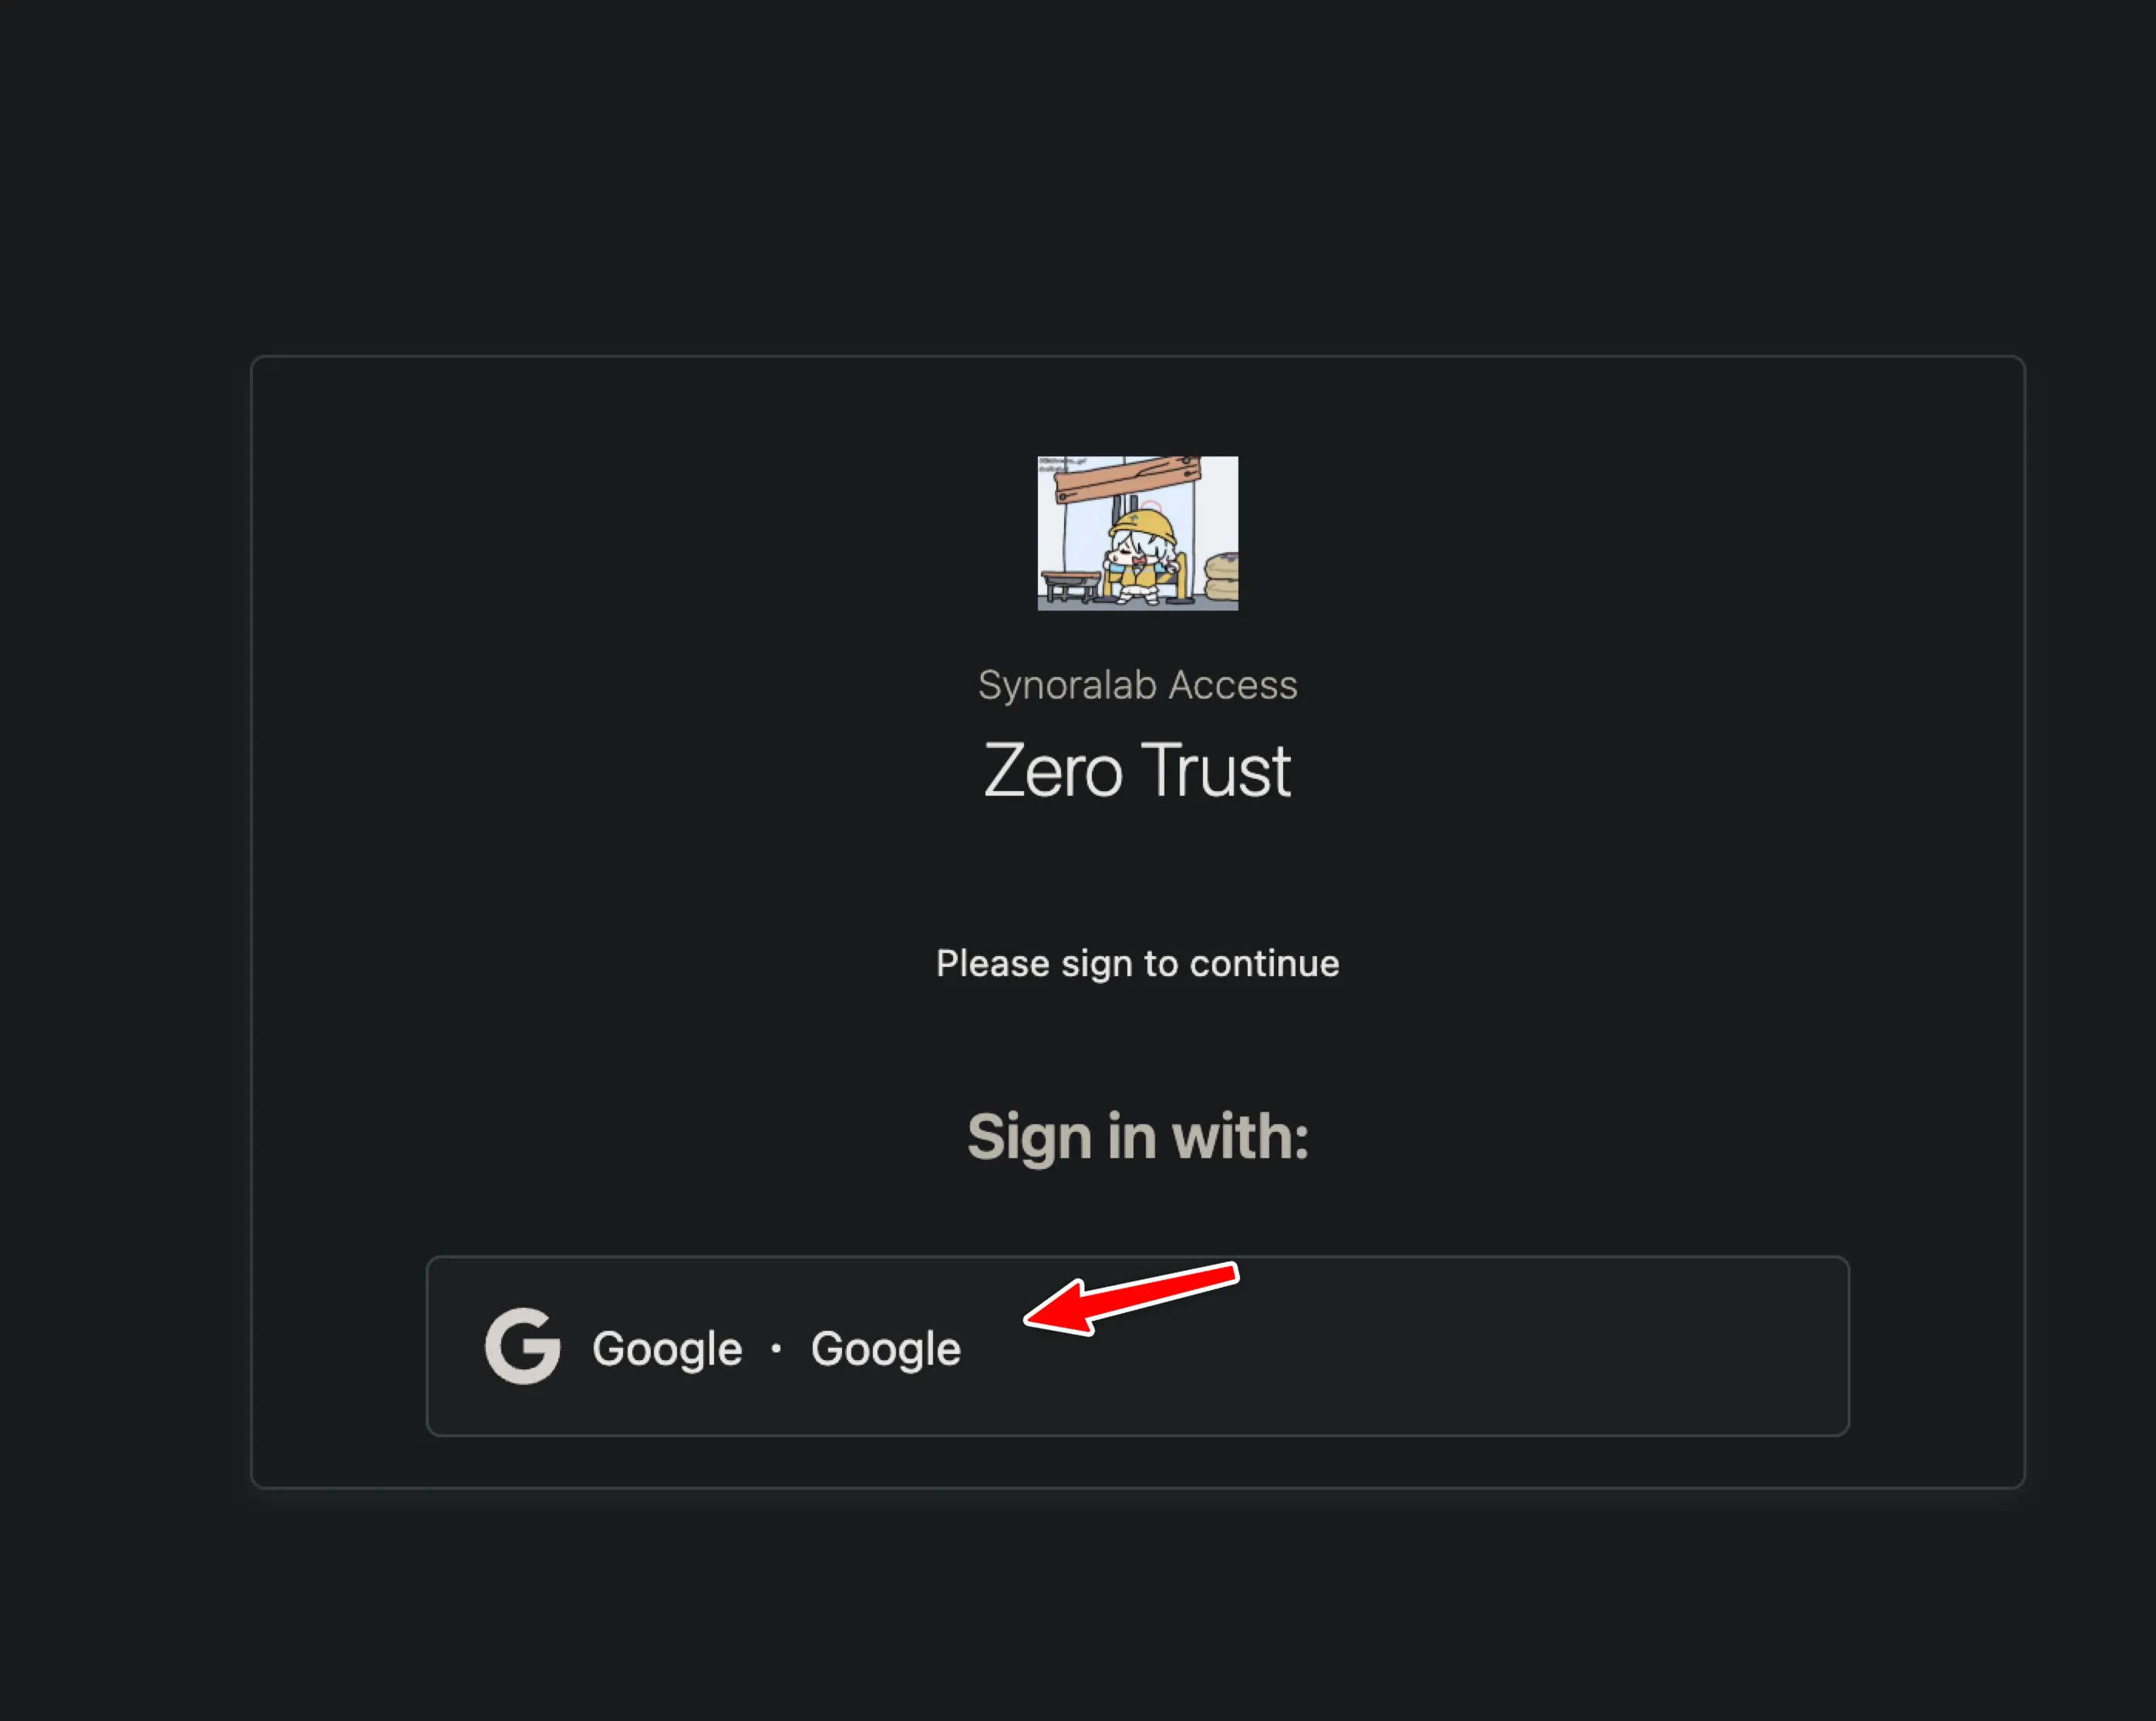
- When the browser shows success, return to the WARP app
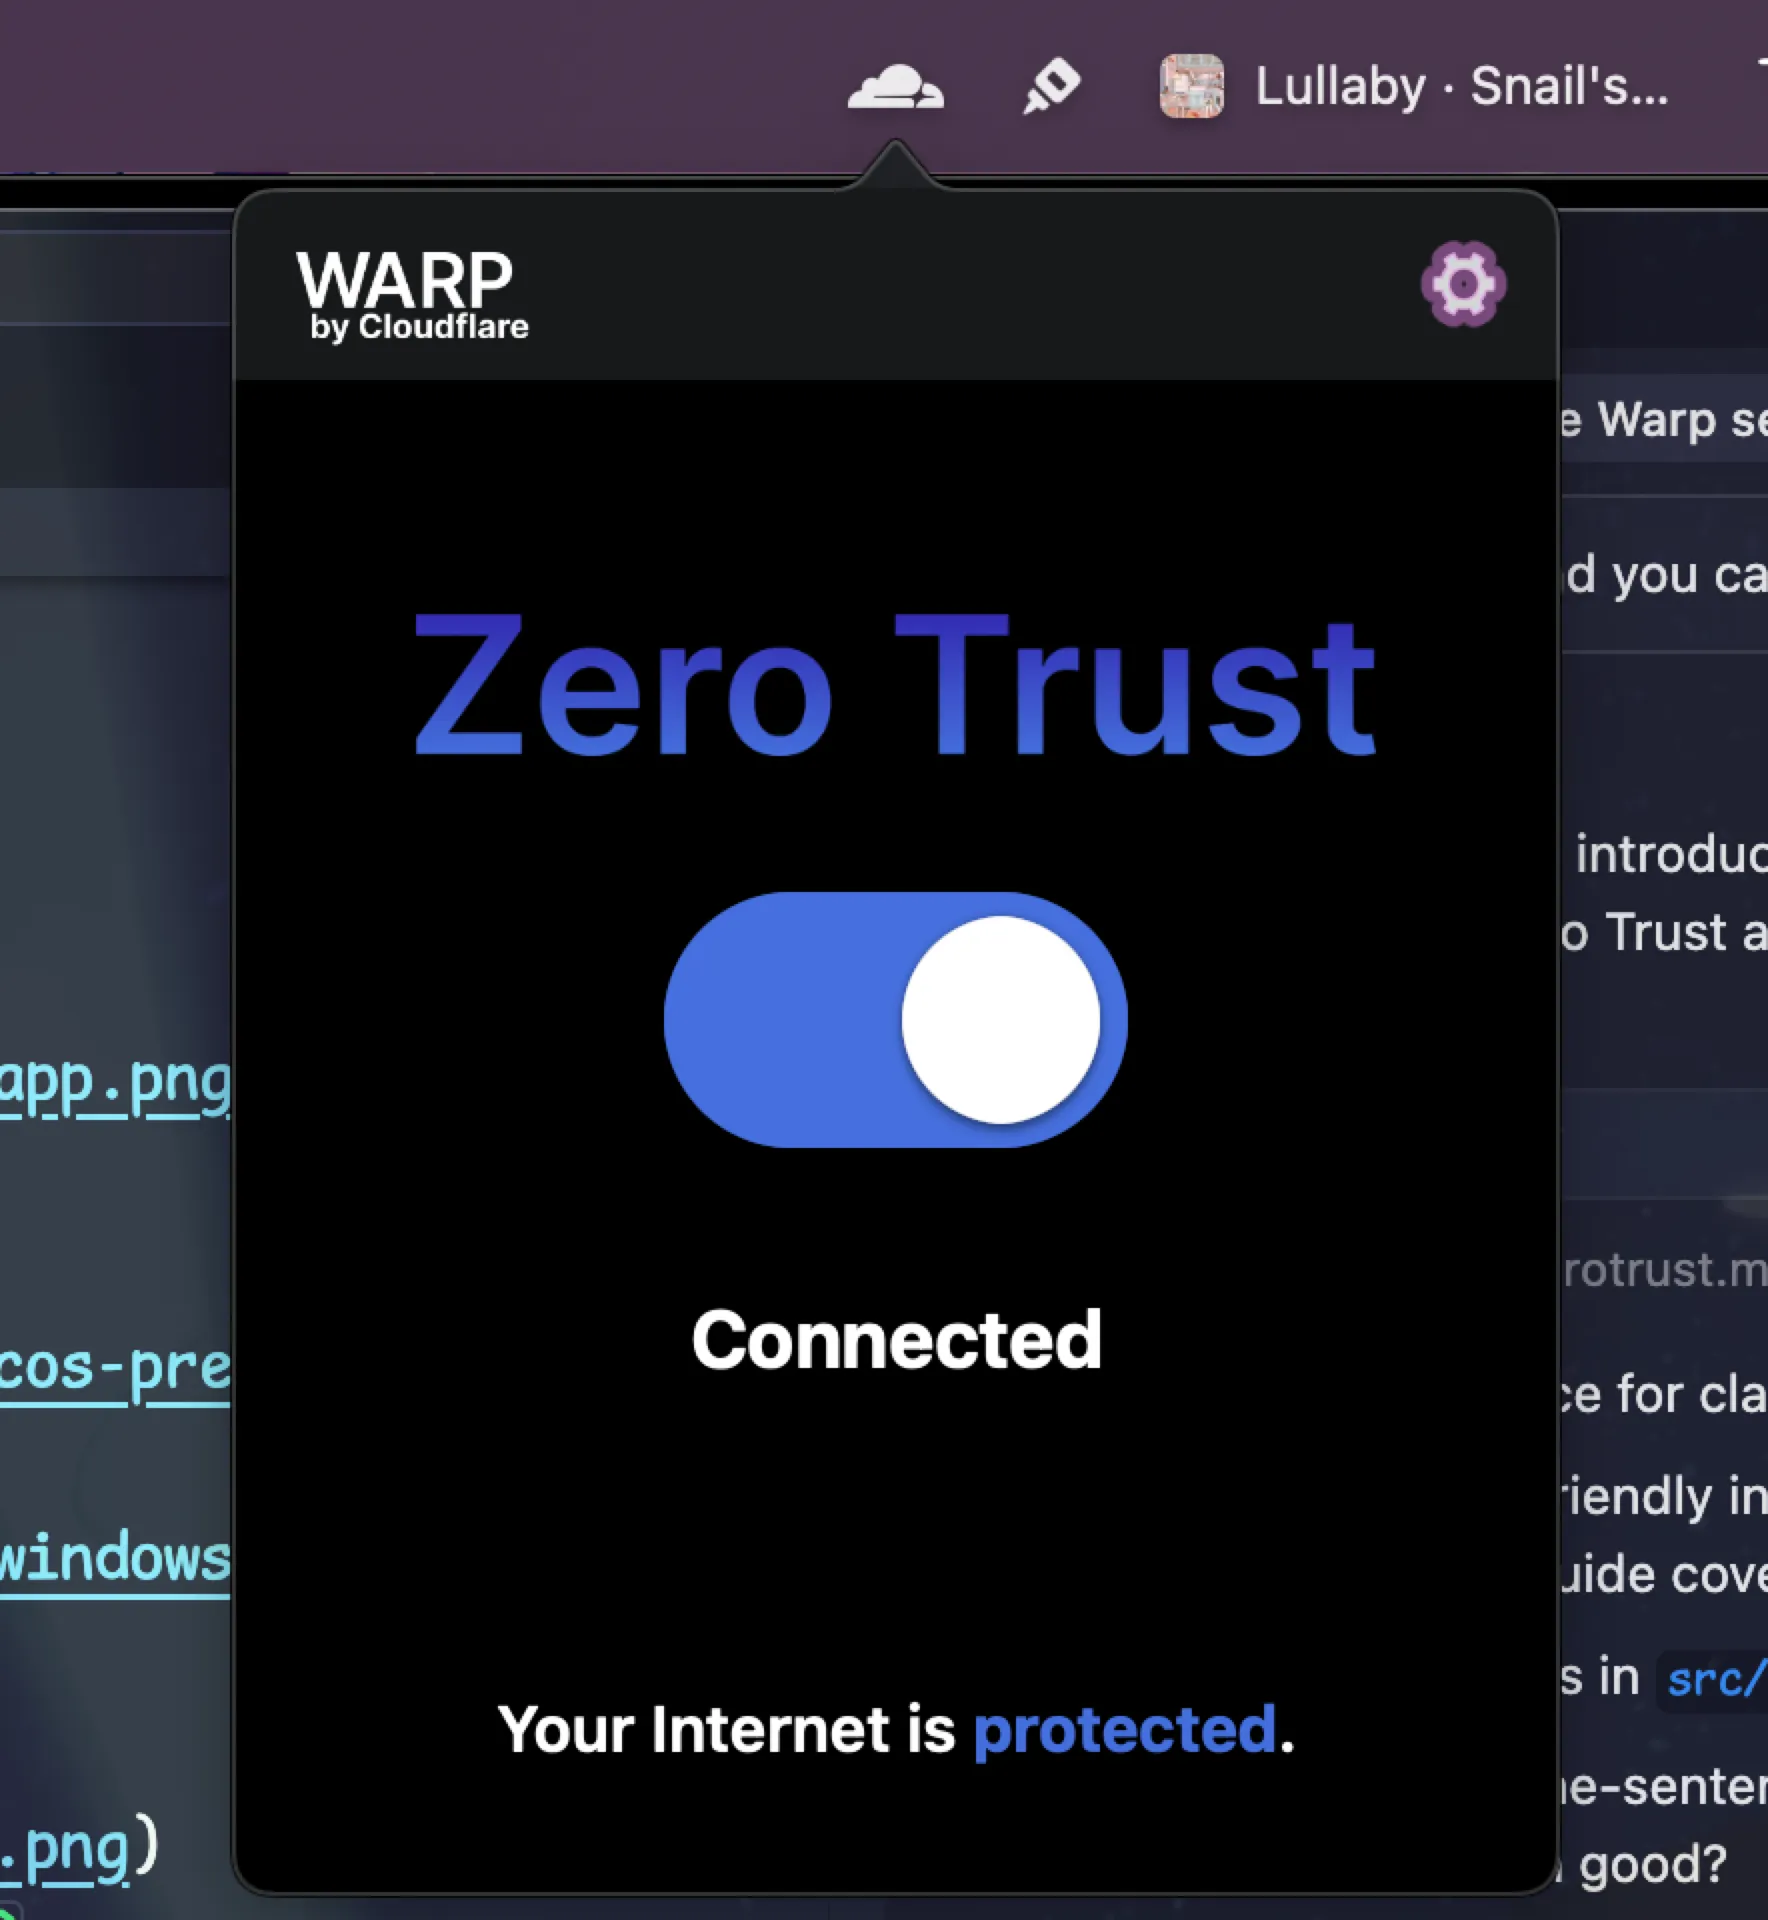
- In the main screen WARP will change Zero Trust, toggle the switch to ON (Connected)
- Confirm the organization in account preferences should shows
synoralab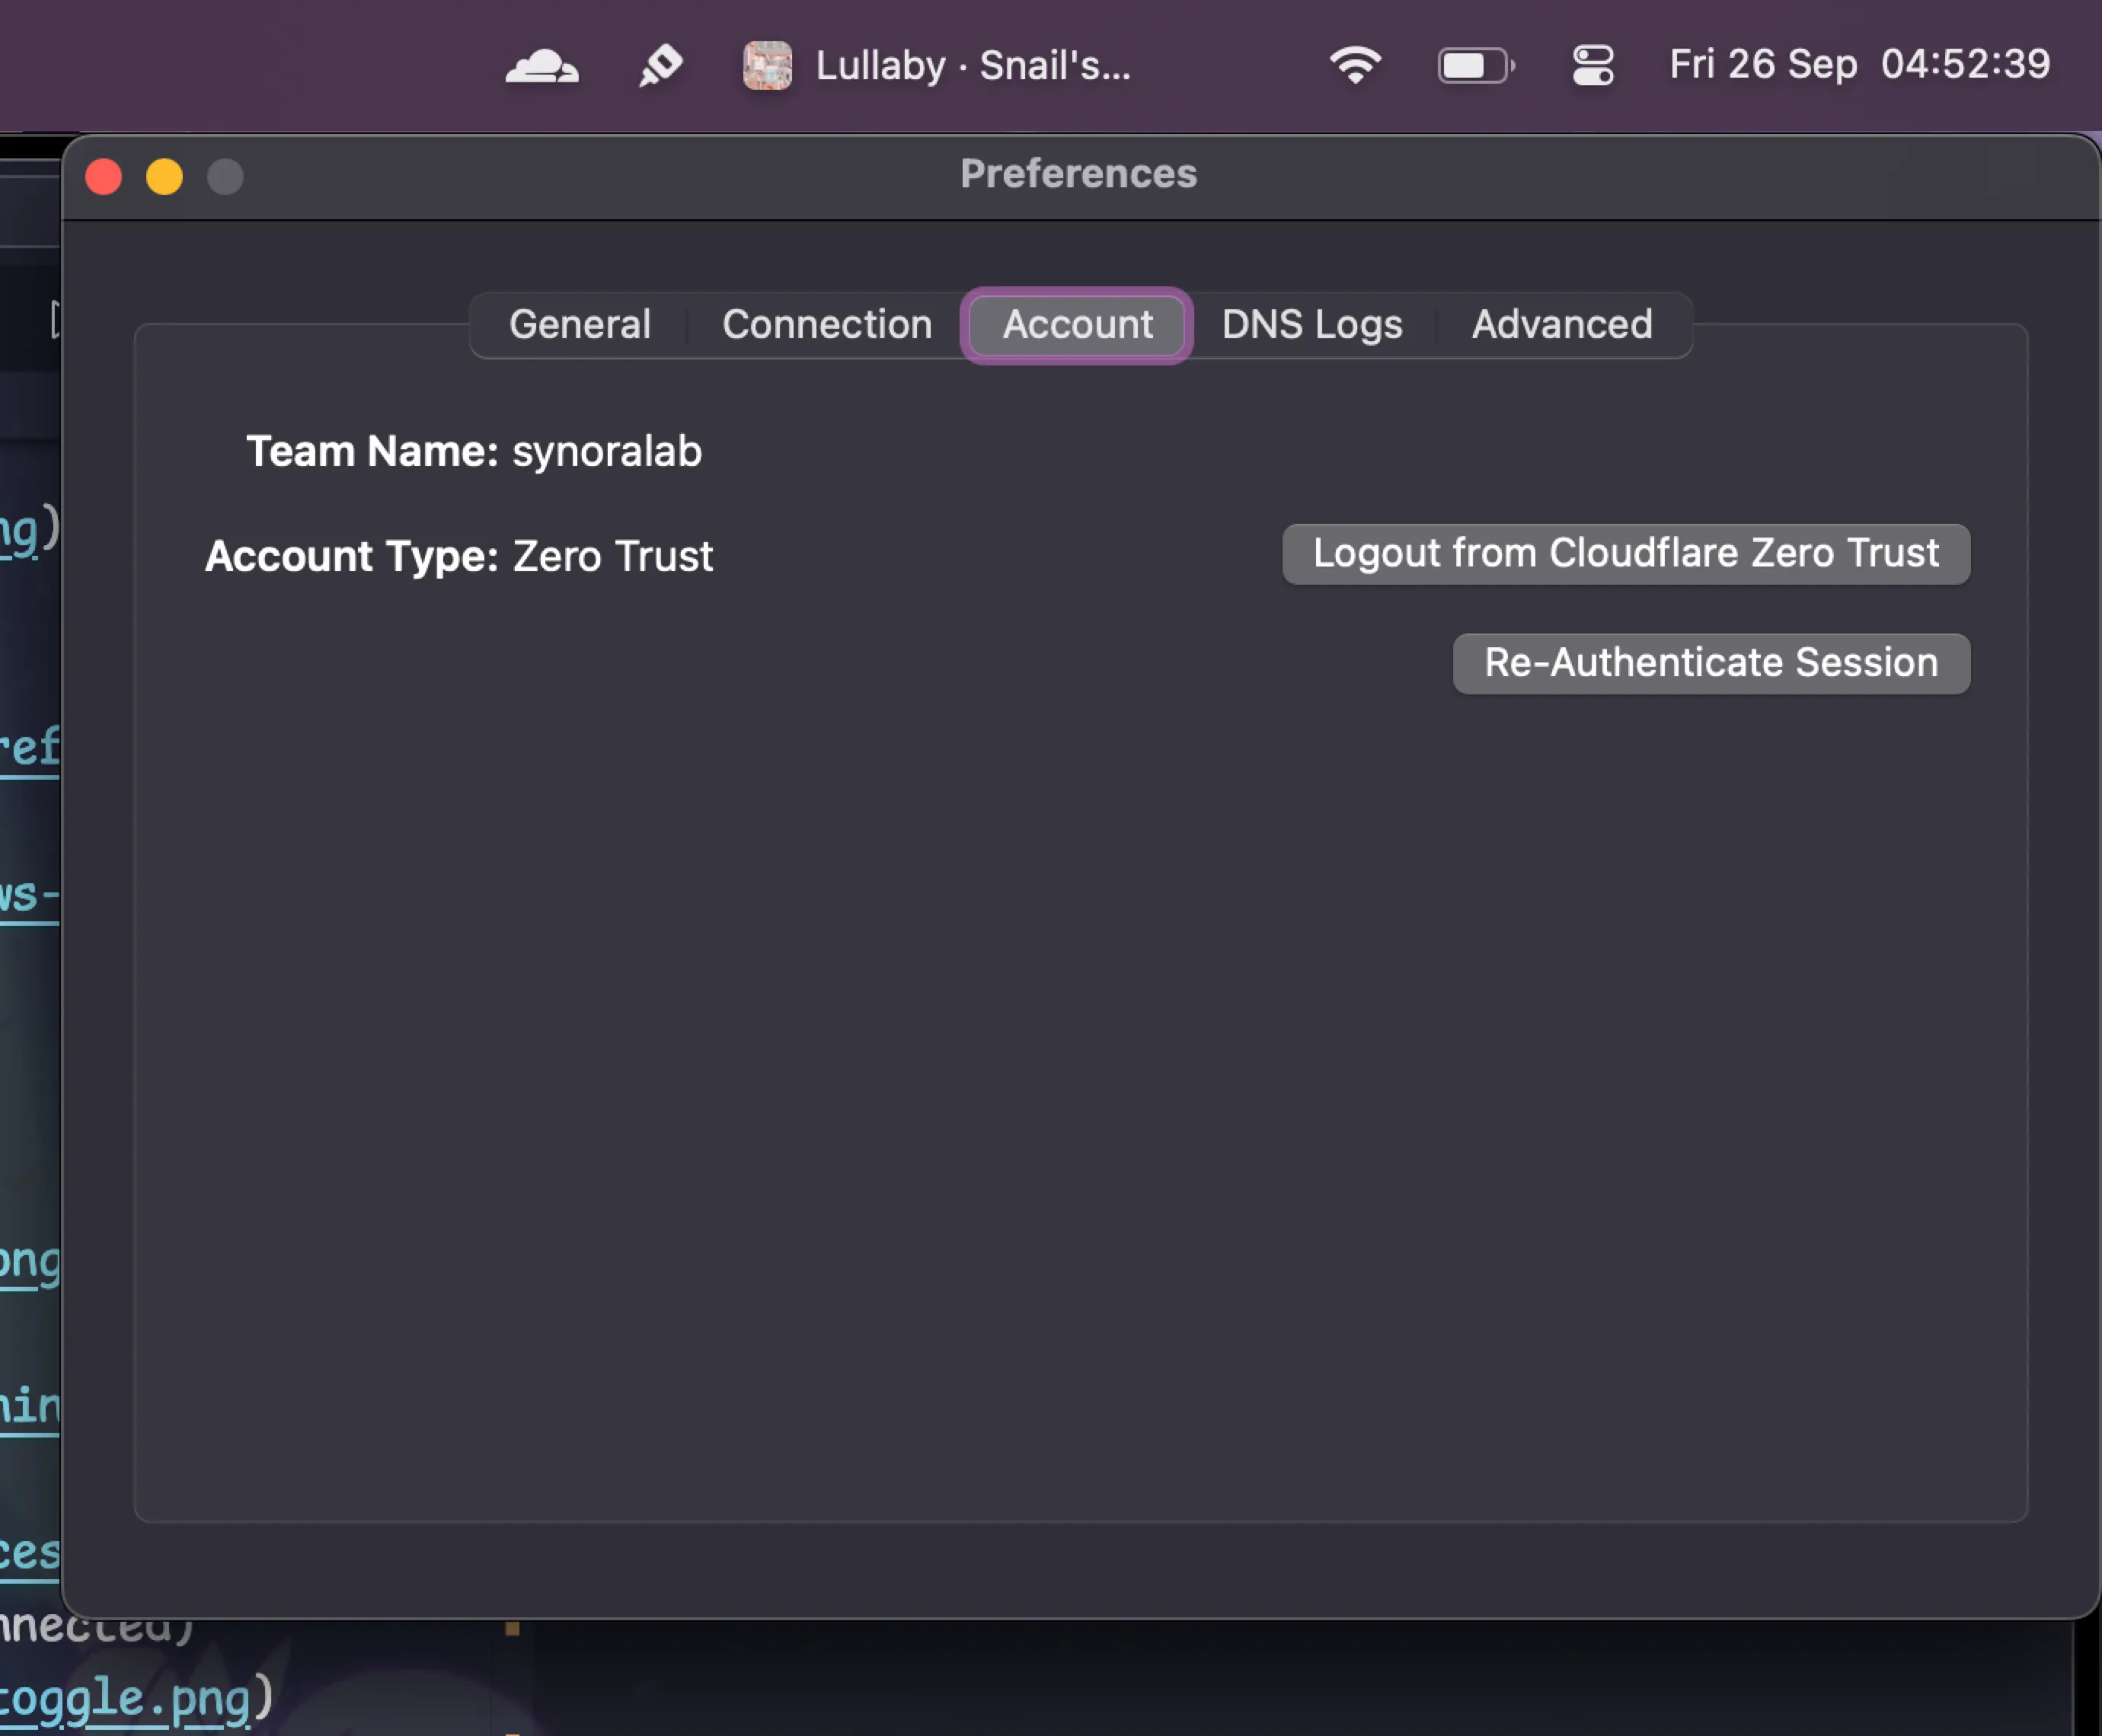
Verify access
Section titled “Verify access”- Open the WARP app: Status should be “Connected”
- Check the organization/Account: it should display
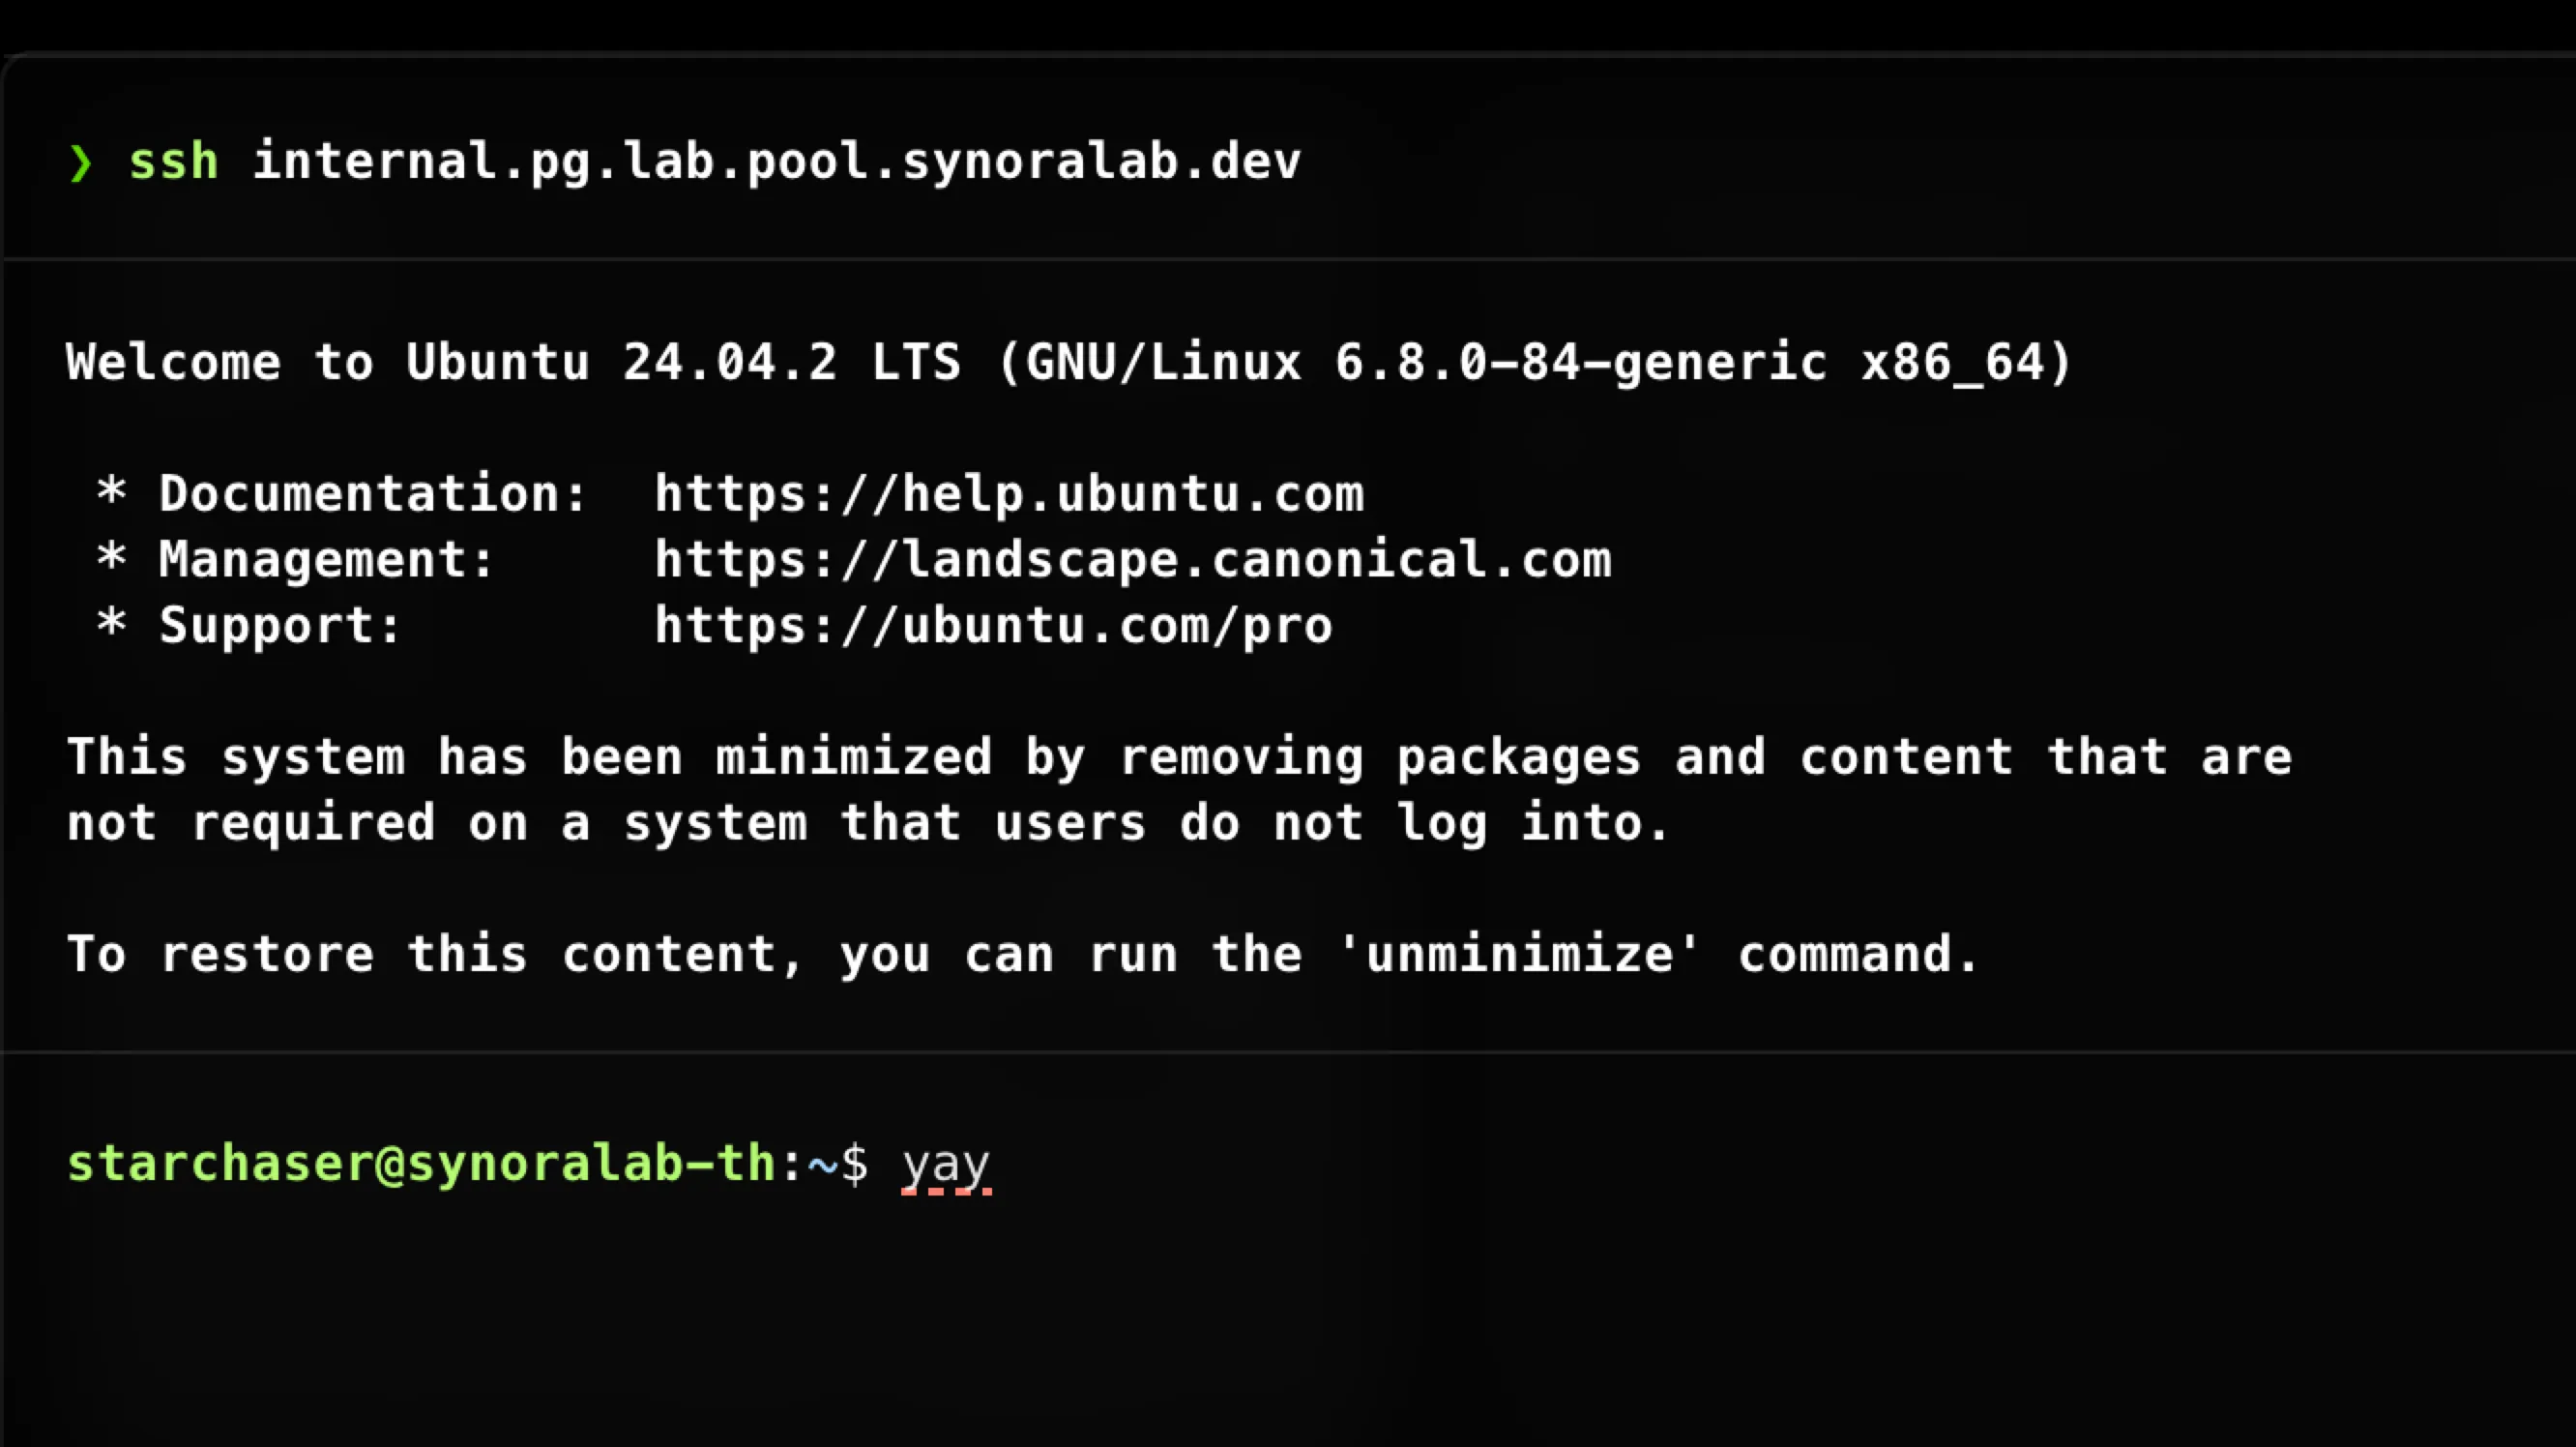
synoralab - Visit an internal resource (e.g., internal dashboard, database proxy, ssh). It should load without additional VPN steps 🥳
Troubleshooting
Section titled “Troubleshooting”- Ensure the team name is exactly
synoralab(no spaces, all lowercase). - If the toggle won’t connect, sign out in WARP and repeat the login with the team name.
- On macOS, allow the network extension when macOS prompts for VPN permissions.
- On corporate networks, a reboot or network change may be required after first setup.
- If you see “1.1.1.1” mode only, switch to “Zero Trust” mode in Settings
- Linux: verify
warp-cliis logged in (e.g.,warp-cli teams-enroll synoralabthenwarp-cli connect) - If you get stuck on browser login, close the tab and click login again from the app
- Any other this please ask your team